
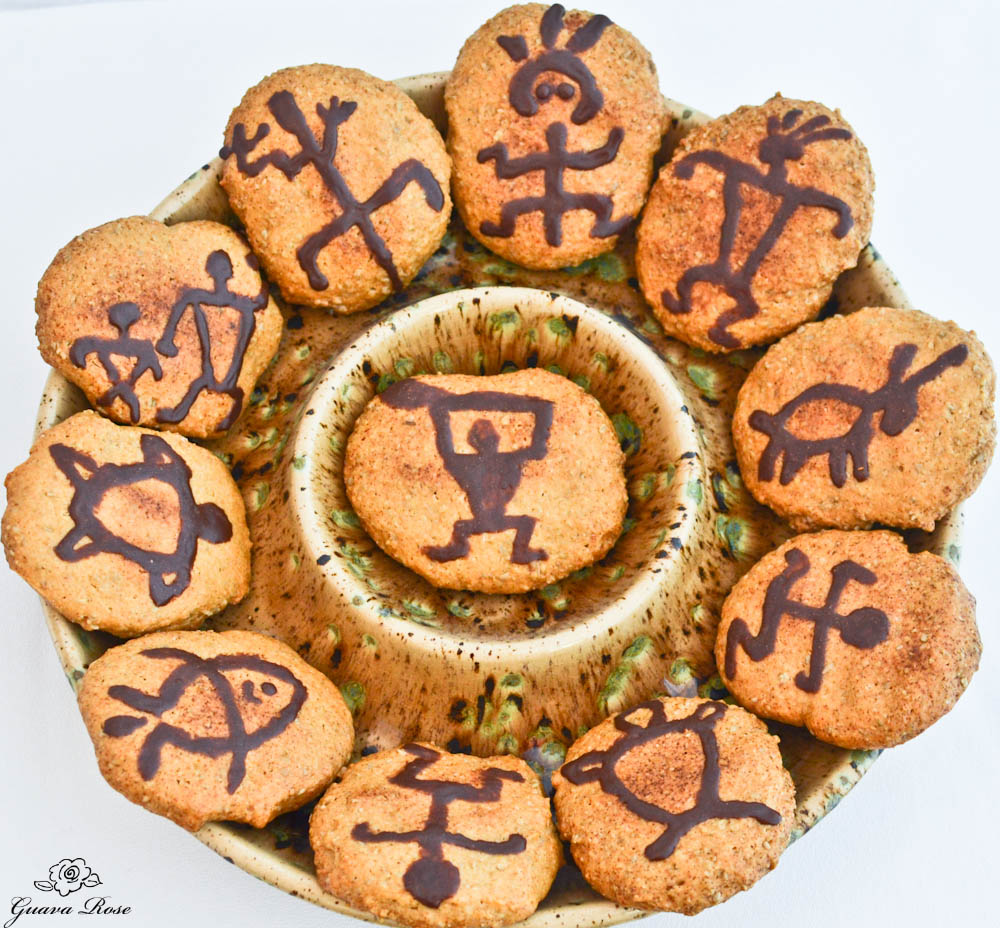
Ki’i Pohaku (Stone Image) Cookies
Petroglyphs can be found on all the Hawaiian Islands, but most of them are located on the Big Island of Hawaii. The ancient Hawaiians made pictures in fields of smooth pahoehoe lava rock, boulders, and cliffs. Some petroglyphs tell stories or events, while others are just pictures of people, animals, things or symbols.
Cookies are a fun way to recreate some petroglyphs.
I like to add nuts or seeds to make them more stone-like. They’re also pretty tasty!
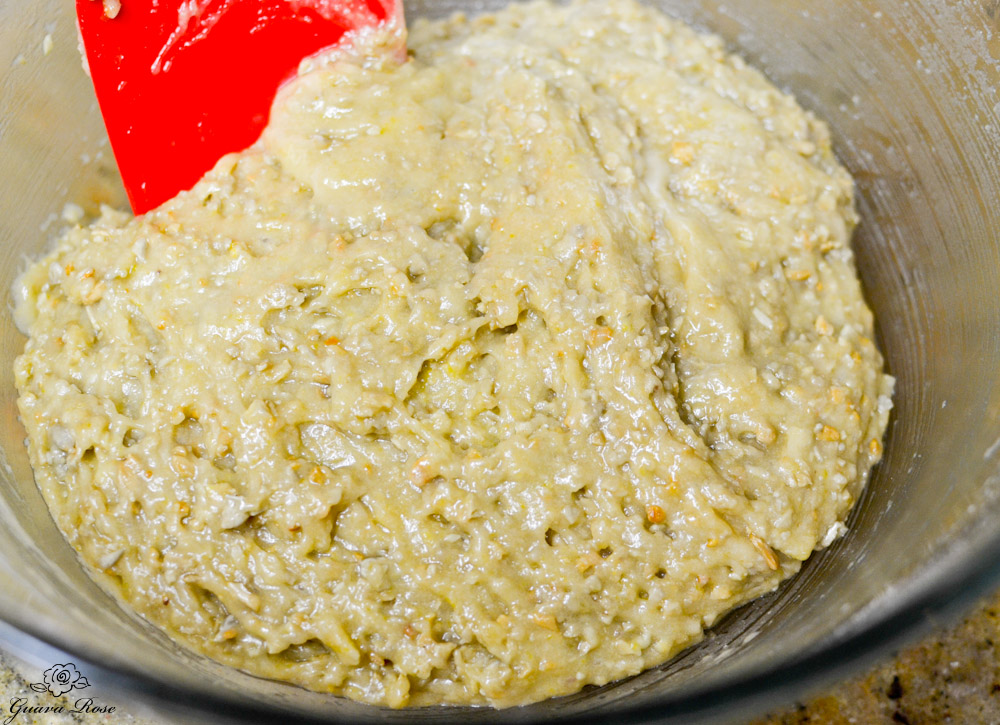
Mix the cookie ingredients together until the dough is smooth.
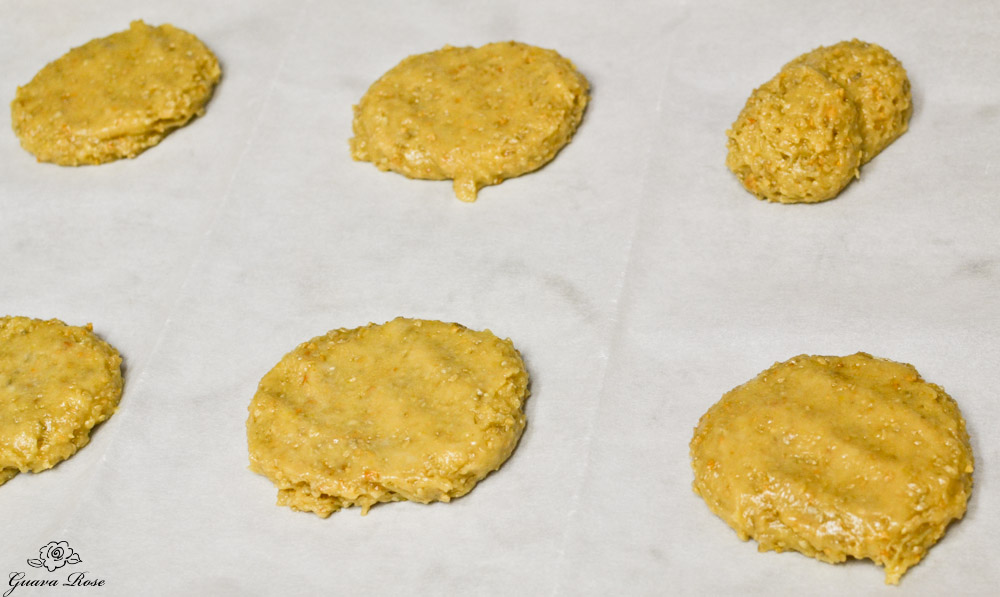
Line baking sheets with parchment paper.
Scoop cookies onto each baking sheet, using 1/4 c. batter for each cookie.
Moisten your fingers with some water and pat down the scooped cookies to 1/2″ thickness.
It’s okay if the cookies are not perfectly round or oval. Imperfect shapes will make the cookies look more like natural rocks.
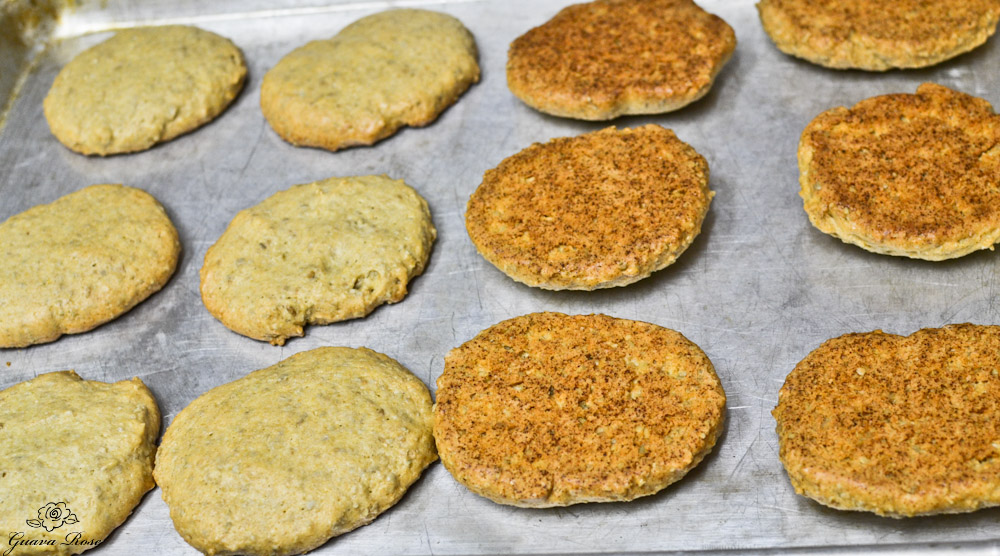
Bake for 50 minutes at 300 degrees, until the cookies are firm and browned on the bottom.
Turn off the oven, then flip the cookies over bottom side up. Return the cookies to the oven for a few hours until the oven has cooled down. The cookies should be nice and crisp like biscotti. Cool completely before decorating.

(A few good sources: Petroglyphs of Hawaii by Likeke R. McBride; Spirit of Place by Georgia Lee and Edward Stasack; and the Hawaii Volcano National Park Service )
It’s easy to find information and book sources online to research examples of petroglyphs that the ancient Hawaiians made.
Choose some of your favorite petroglyphs, then practice drawing them on paper first.
The traditional ways to make petroglyphs are:
Pecking or Hammering – with a hard beach pebble on pahoehoe lava;
Bruising or Gentle Scraping – like done on the glazed lining of a lava tube; and
Abrading – hammering and cutting with a filing or scraping motion.
(McBride, Petroglyphs of Hawaii, Hilo, Hawaii: Petroglyph Press, 2004)
Sometimes the picture was just scratched into the surface, and other times dots were pecked and then connected–like connect-a-dot pictures. I love doing connect-a-dot pictures!
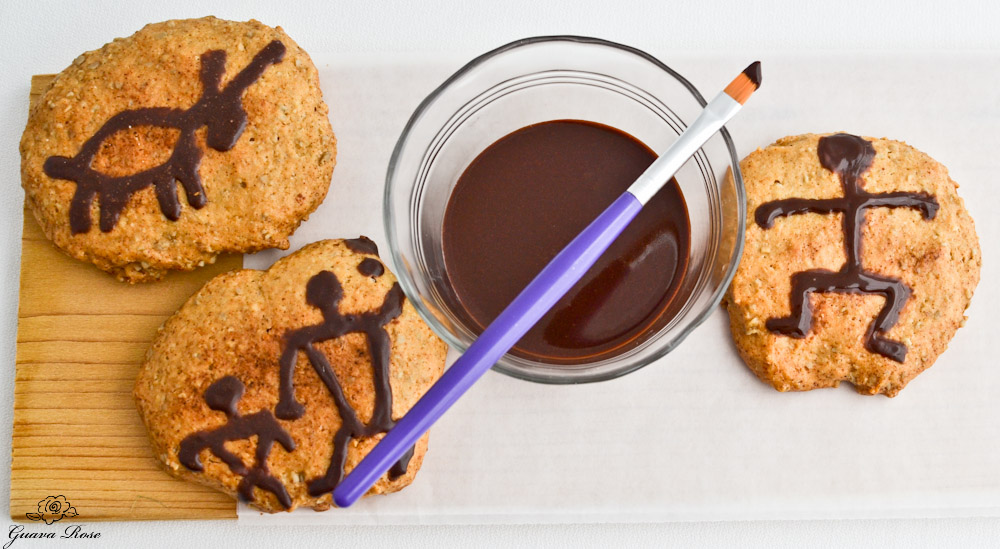
To make it easier, I used chocolate icing to “paint” the pictures instead.
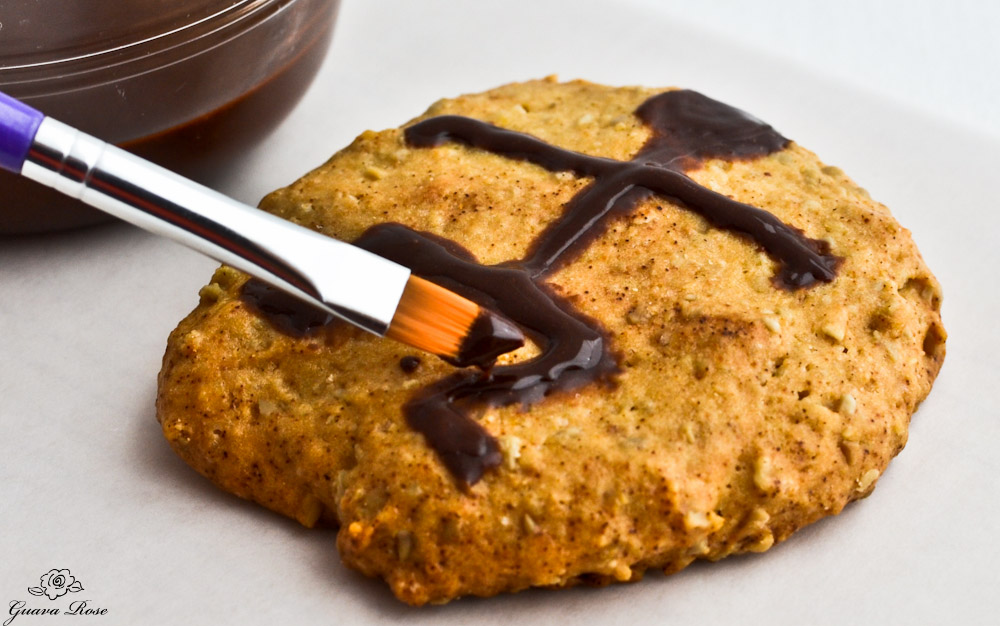
Dip the tip of a small paint brush (food safe and used for food only) into the icing to pick up small amounts of icing at a time.
Hold the brush close to the cookie surface, and let the icing drizzle off the brush as you make the picture. You can gently use the brush to help “paint” the lines too. Be careful not to press down too hard with the brush or the design will look messy.
When the icing is mostly dried, you can paint a second coat of icing on top to make the design darker. Let the cookies air dry several hours or overnight, until the icing is completely hard.

Perfect to dunk in a mug of hot cocoa on a chilly day, or into a glass of icy, cold milk after a hot day of exploring the fields~
These cookies are easier to eat when broken into pieces first.
Cheers!
- ⅓ c. soft butter
- ½ c. sugar
- 2 large eggs
- 1-1/2 tsp. vanilla
- 1-1/2 c. flour
- 1 tsp. baking powder
- ¼ tsp. sea salt
- 1 c. toasted unsalted almonds, macadamia nuts or sunflower seeds, finely chopped
- ¼ c. powdered sugar
- 1 T. unsweetened cocoa powder
- 1 T. warm water
- Preheat oven to 300 degrees F. Line two baking sheets with parchment paper. In a large bowl, cream butter and sugar, then mix in eggs and vanilla. Add flour, baking powder and salt. Stir together to form a thick dough. Mix in nuts.
- Scoop ¼ c. globs onto the baking sheets, about 4-5 cookies per sheet. Moisten your fingers with water and press all the cookies down to about ½" thickness.
- Bake for 50 minutes until cookies are firm and browned on the bottom. Turn off the oven, then flip the cookies over, bottom sides up. Return the cookies to the oven for a few hours until the oven has cooled down. The cookies should be nice and crisp like biscotti. Cool completely before decorating.
- For the icing, mix together all ingredients. Add a little powdered sugar if it is too thin, or add a tiny bit of water if it's too thick. The icing should be the consistency of thick paint.
- Dip the tip of a small food safe paint brush into the icing to pick up small amounts of icing at a time. Holding the brush close to the cookie surface, let the icing drizzle off the brush to make the picture, while only gently using the brush to "paint". If you press down too hard with the brush the design will look very messy. When the icing is mostly dried, you can paint a second coat of icing on top if you want the design darker. Otherwise let the cookies air dry several hours or overnight, until the icing is completely hard.
- These cookies are easier to eat when broken into pieces first.
- (Omit salt if using salted nuts or seeds.)


