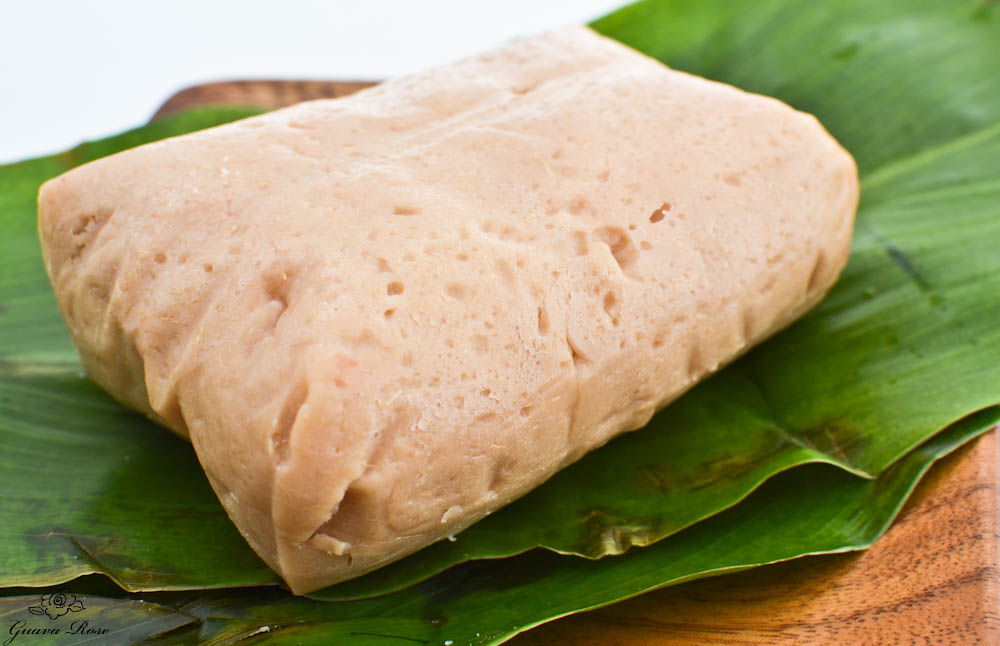
Fresh Pa’i’ai on Ti Leaves
Before the holidays, I wrote about the traditional pounded taro called Pa’i’ai, from Mana Ai.
We enjoyed mini pa’i’ai pizzas, and some wonderfully chewy, satisfying pa’i’ai tortillas.
The pa’i’ai also made some very tasty biscuits and crackers which I’m sharing today.
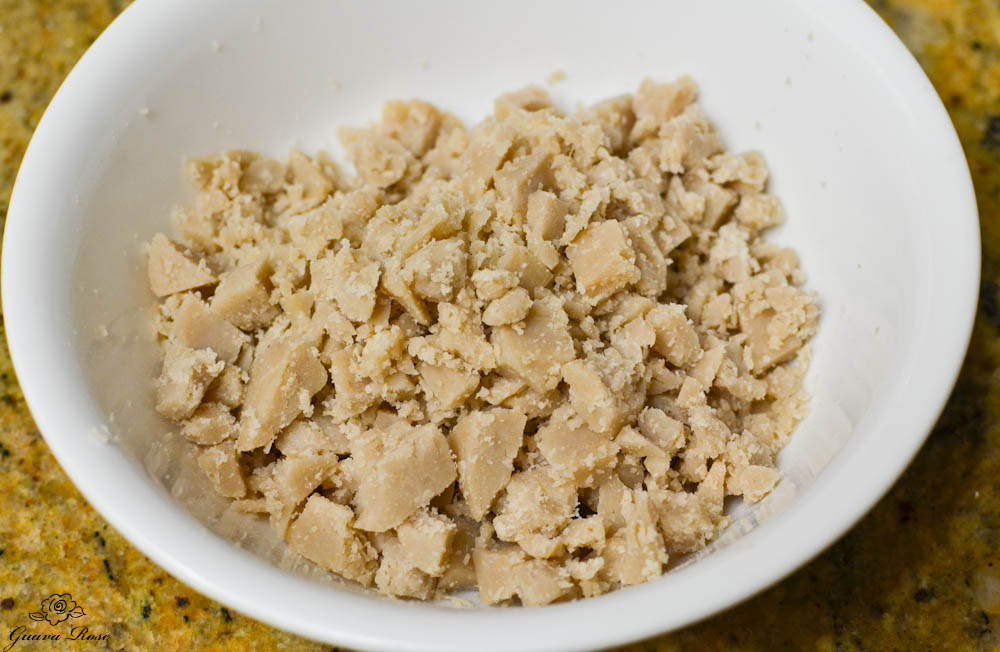
Although pa’i’ai can last for months at room temperature, I stuck some in my refrigerator to keep it fresher longer.
This picture shows my pa’i’ai about two weeks old, refrigerated for the last week. At this point, the pa’i’ai was kind of hard and crumbly.
I cut it into small chunks and crumbled them up a bit. You can actually steam it in a rice cooker with some water to make poi too.
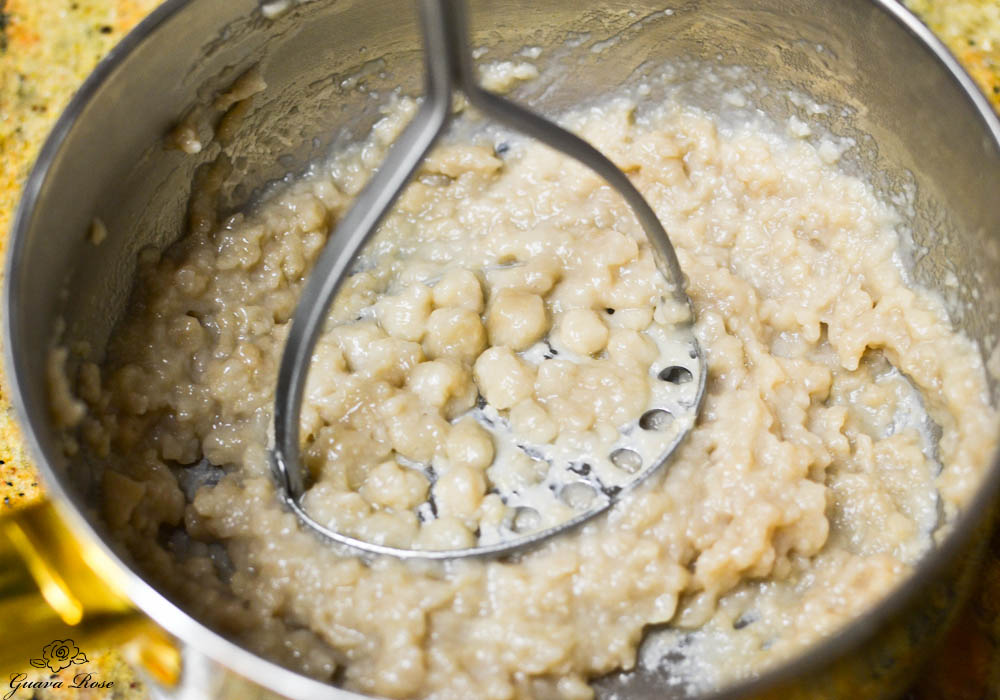
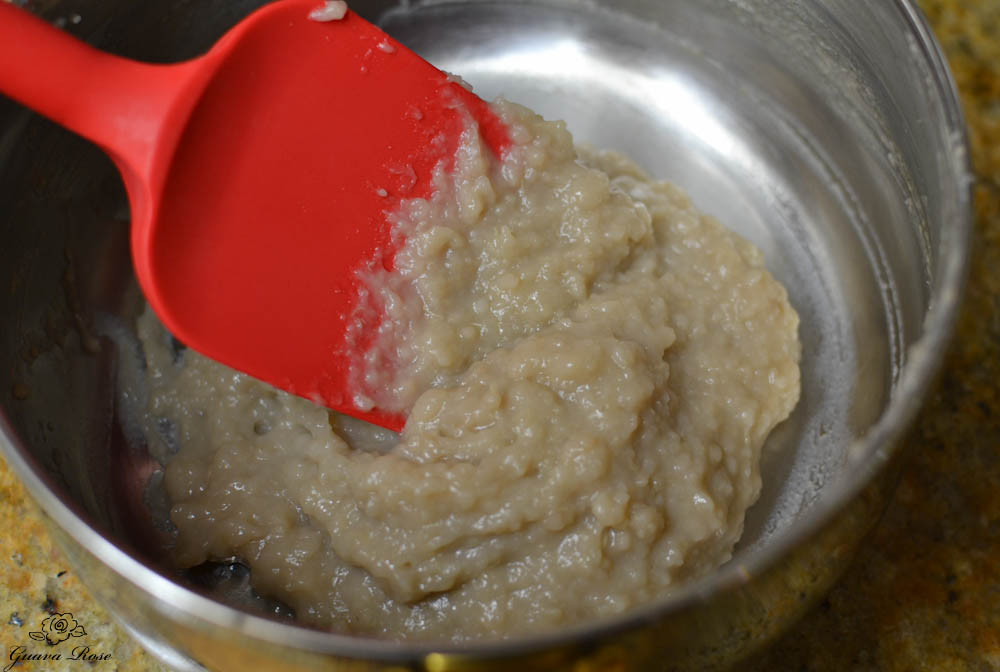
I just brought a little water in a pot to a boil, then added the crumbled pa’i’ai and turned the heat down to medium low.
As the pa’i’ai softened, I used my potato masher to break up the pieces.
Mashed, rehydrated pa’i’ai
Mash it as smooth as you can, let it cool, then add flour or biscuit mix a little at a time until a dough that is not sticky forms.
Both wheat or gluten free blends of flour and biscuit mixes work very well.
For fluffier biscuits, definitely use a biscuit mix with leavening in it as opposed to just plain flour.
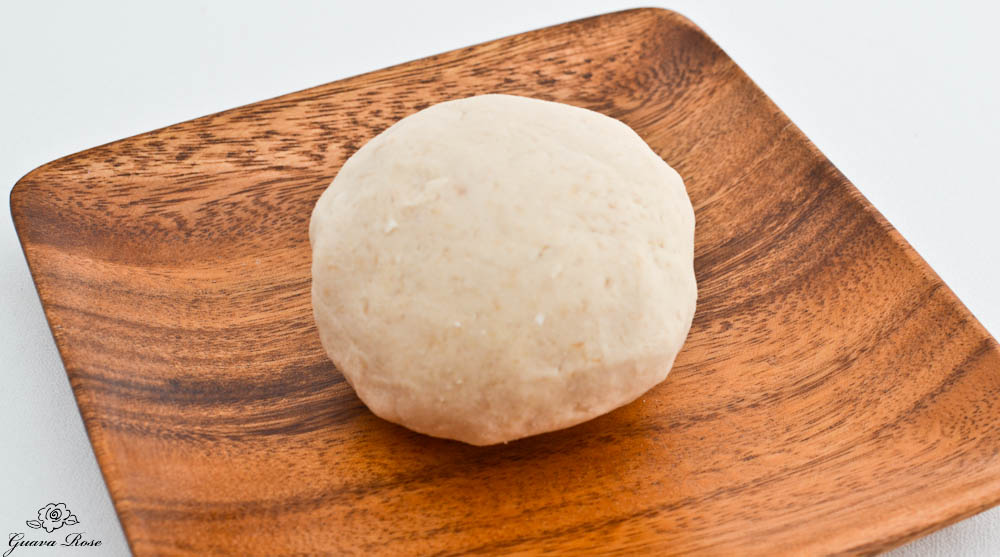
Knead the dough smooth.
This versatile dough makes the biscuits and crackers, as well as the previously mentioned pizza and tortillas.
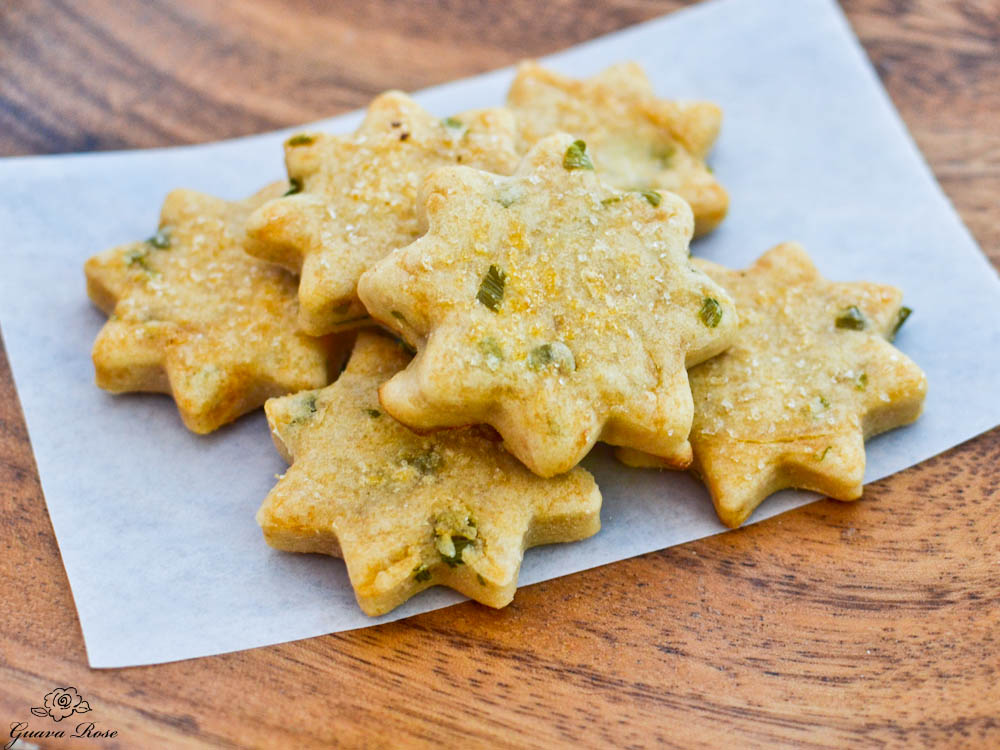
Green Onion and Chili Oil Pa’i’ai Biscuits
For plain biscuits, roll the dough out 1/2″ thick. Cut with 1-1/2″ to 2″ cutters. Bake at 400 degrees for 12-16 minutes, or until cooked through. The baking time will vary depending upon how large the biscuits are, and how much water and flour has been added to the pa’i’ai.
I kneaded in some chopped green onions into the dough for these, before rolling the dough and cutting out the biscuits. Then I drizzled the tops with some chili oil and a sprinkle of sea salt before baking. Oh, they were tasty! Some Kombucha or beer would be a nice accompaniment.
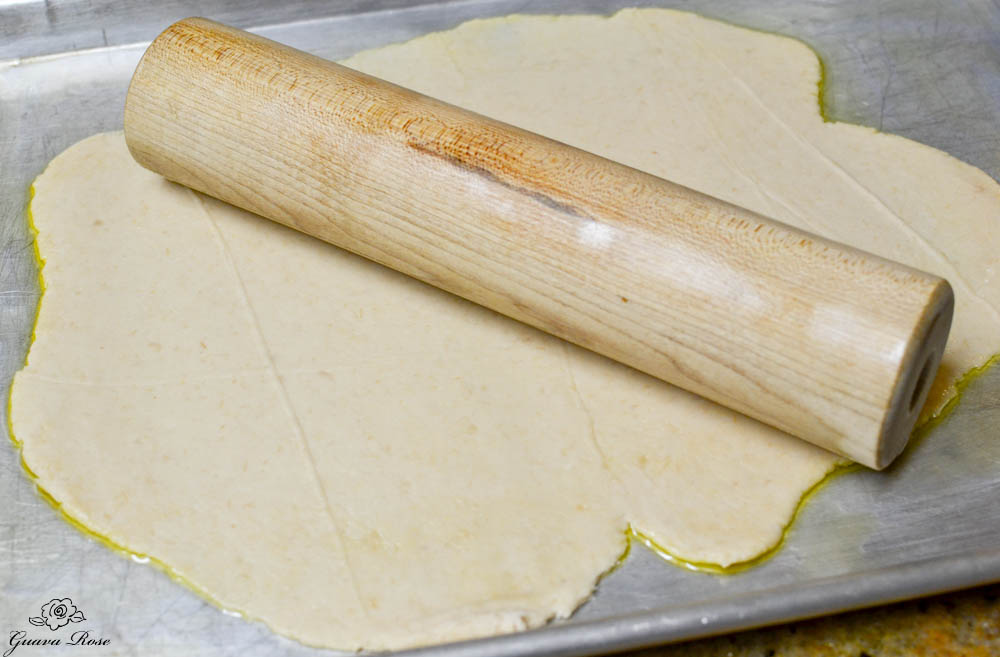
To make crackers, coat the bottom of a large, shiny baking sheet (mine was 12″ x 17″) with a couple tablespoons of oil.
Roll the dough out in the pan with a rolling pin. A smaller rolling pin without handles works best.
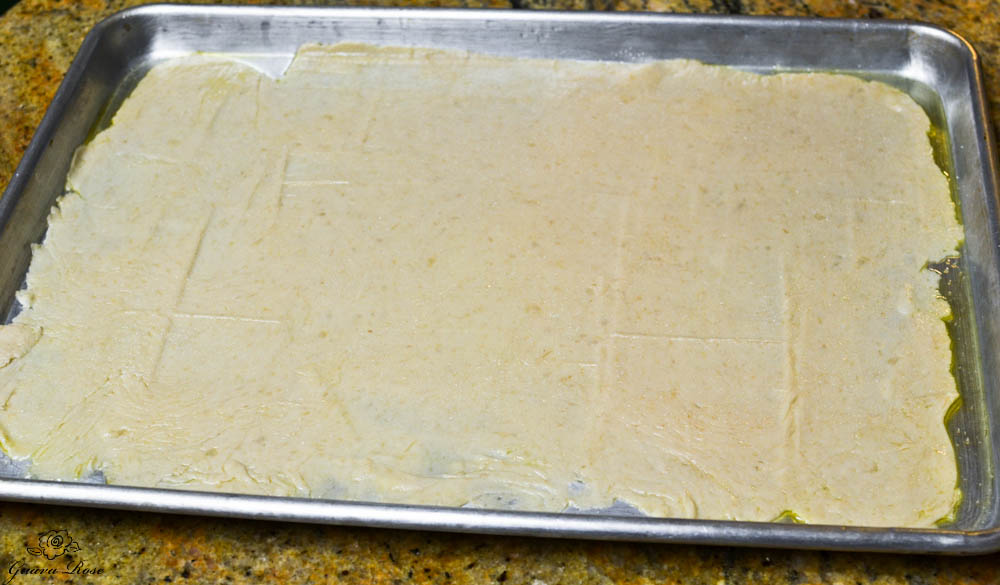
Roll the dough out as thin as you can. Sprinkle lightly with sea salt.
Bake at 375 degrees for 15 minutes.
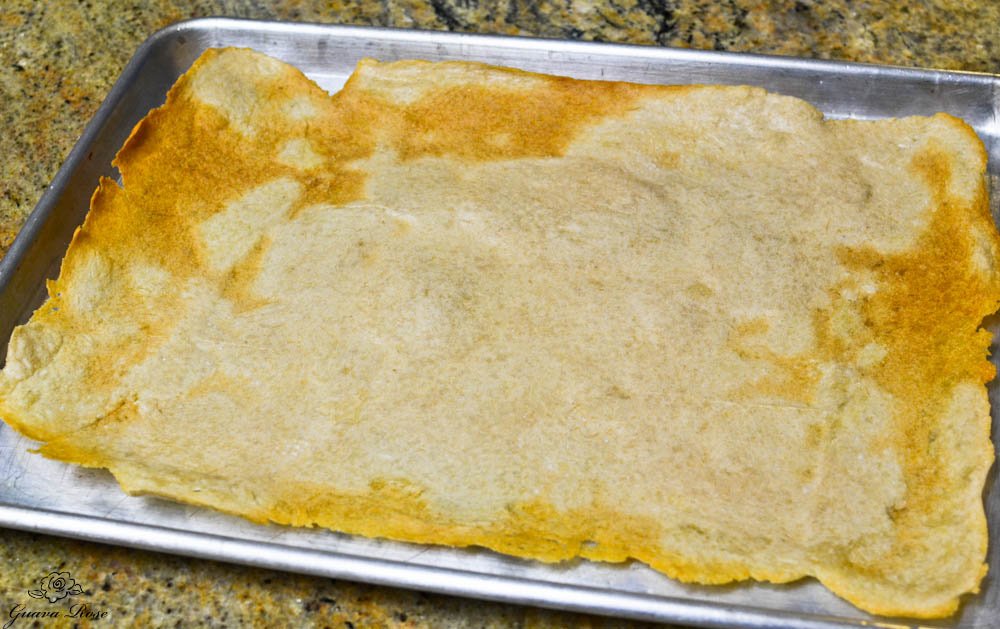
Pa’i’ai cracker sheet, baked 15 minutes, then turned over
Lift up the whole sheet, turn it over and bake another 10 minutes.
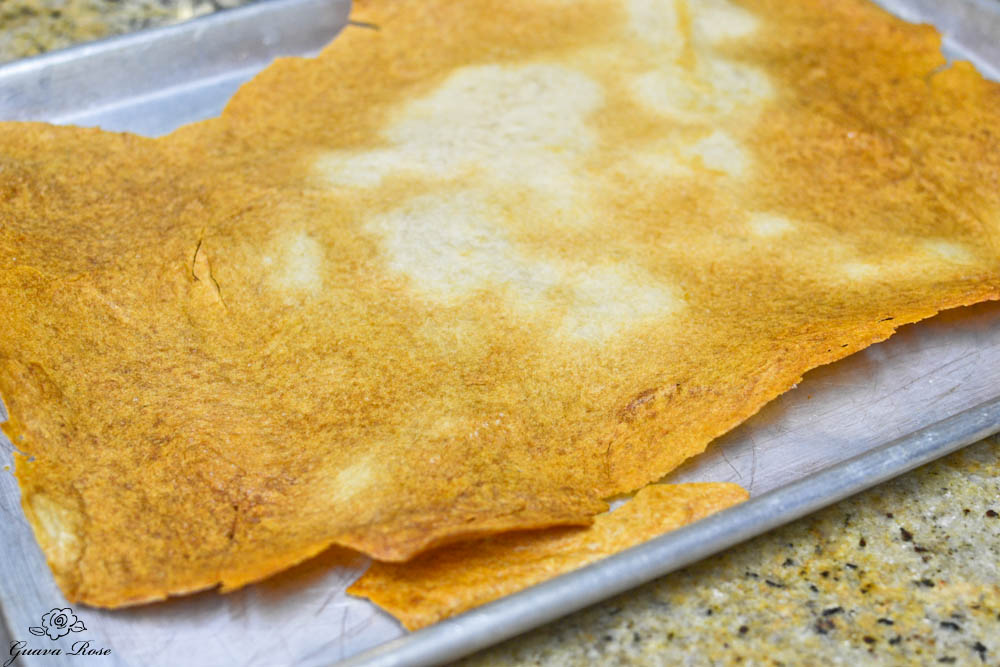
Finished Pa’i’ai Cracker Sheet
It should look crispy and mostly golden brown all around the sides.
The middle may still look a little light colored, but if you leave it in the oven longer, the outside edges will get too brown and taste burnt.
Let the cracker sheet cool down a bit before breaking it into pieces. You can stick the light colored middle pieces (which may still be slightly soft) back in the turned off oven to crisp them up. Check it after 5 minutes and remove it if it has crisped up. Don’t leave it in the oven too long or it will get overbrowned.
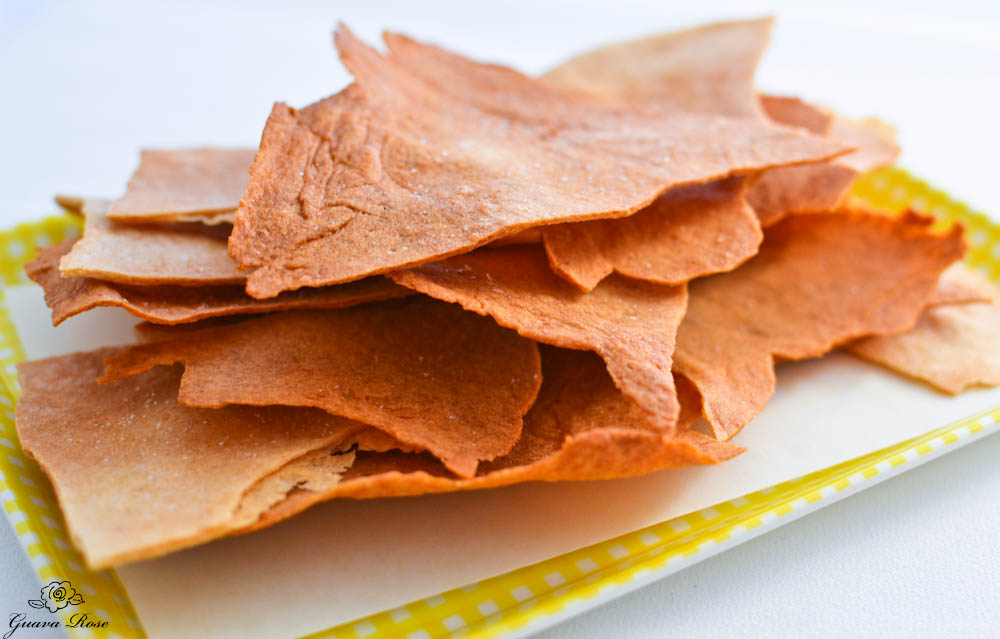
Stack of Pa’i’ai Crackers
These disappeared fast. The kids wanted more.
Good thing I have a mom’s “eyes in the back of my head” to prevent theft and consumption before I could set up and take a picture!
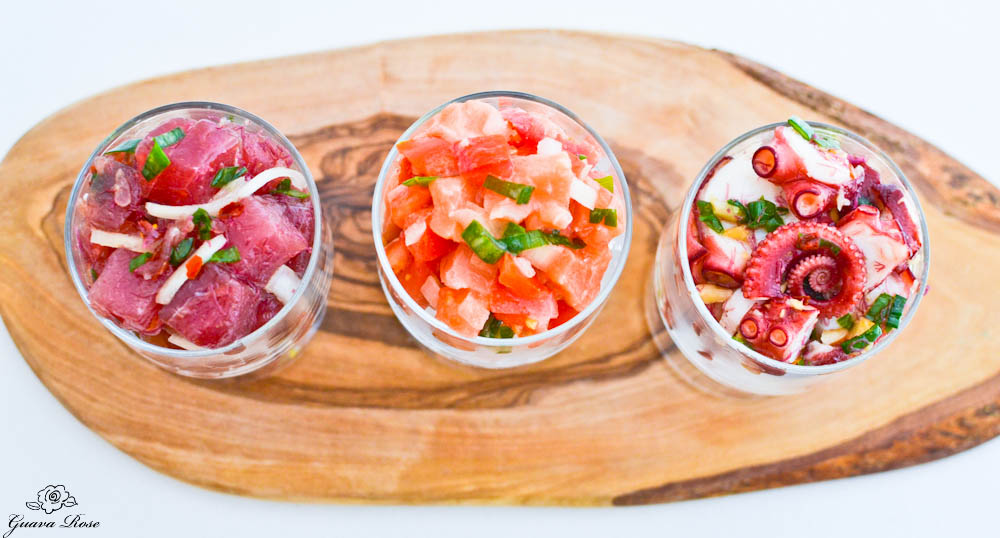
Ahi Poke, Lomi Lomi Salmon and Tako Poke
And if you just happen to have some poke or lomi lomi salmon around…

You can use the crackers as little scoops to eat!
(though you may want to leave the salt off the crackers if the poke or salmon is really salty)
- 4 oz. pa'i'ai
- ½ c. or more (wheat or gluten free blend) flour or biscuit mix (preferred)
- ¼ c. or more water
- ½ c. chopped green onions
- Chili Oil
- Sea salt
- Preheat oven to 400 degrees. Crumble pa’i'ai on a floured surface. Knead in flour and water until a smooth dough forms. Add small amounts of flour and water if necessary while kneading the dough to get a final dough that is not sticky.
- If the pa'i'ai is hard and crumbly, chop it up and crumble it in small pieces. Bring the water to a boil in a small pot. Add the crumbled pa'i'ai and turn the heat down to medium low. As the pa'i'ai softens, use a potato masher to mash it smooth. Turn off the heat and scoop it into a mixing bowl to cool down. Once it is lukewarm, knead in the flour until a smooth dough forms. Add extra flour/water as needed to get a final dough that is not sticky.
- Knead in the green onions. Roll dough out ½" thick. Use 1-1/2" to 2" cutters to cut out biscuits and place them on a baking sheet. Drizzle the biscuit tops with chili oil and sprinkle lightly with sea salt.
- Bake for 12-16 minutes, or until cooked through. Cooking times may vary according to how much flour and water has been added to the dough.
- 4 oz. Pa'i'ai
- ½ c. or more (wheat or gluten free blend) flour
- ¼ c. or more water
- 2 T. oil
- Sea salt
- Preheat oven to 375 degrees. Crumble pa’i'ai on a floured surface. Knead in flour and water until a smooth dough forms. Add small amounts of flour and water if necessary while kneading the dough to get a final dough that is not sticky.
- If the pa'i'ai is hard and crumbly, chop it up and crumble it in small pieces. Bring the water to a boil in a small pot. Add the crumbled pa'i'ai and turn the heat down to medium low. As the pa'i'ai softens, use a potato masher to mash it smooth. Turn off the heat and scoop it into a mixing bowl to cool down. Once it is lukewarm, knead in the flour until a smooth dough forms. Add extra flour/water as needed to get a final dough that is not sticky.
- Coat the bottom of a shiny baking sheet (~12" x 17") with the oil. Place the dough onto the sheet pan and roll out as thin as possible.
- Sprinkle the top lightly with sea salt. Bake for 15 minutes, then turn the whole cracker sheet over and bake another 10 minutes. It should look crispy and mostly golden brown all around the sides.The middle may still look a little light colored, but if you leave it in the oven longer, the outside edges will get too brown and taste burnt.
- Let the cracker sheet cool down a bit before breaking it into pieces. If desired, place the light colored middle pieces (which may still be slightly soft) back into the turned off oven to crisp them up. Check it after 5 minutes and remove it if it has crisped up. Don't leave it in too long or it will get overbrowned.


