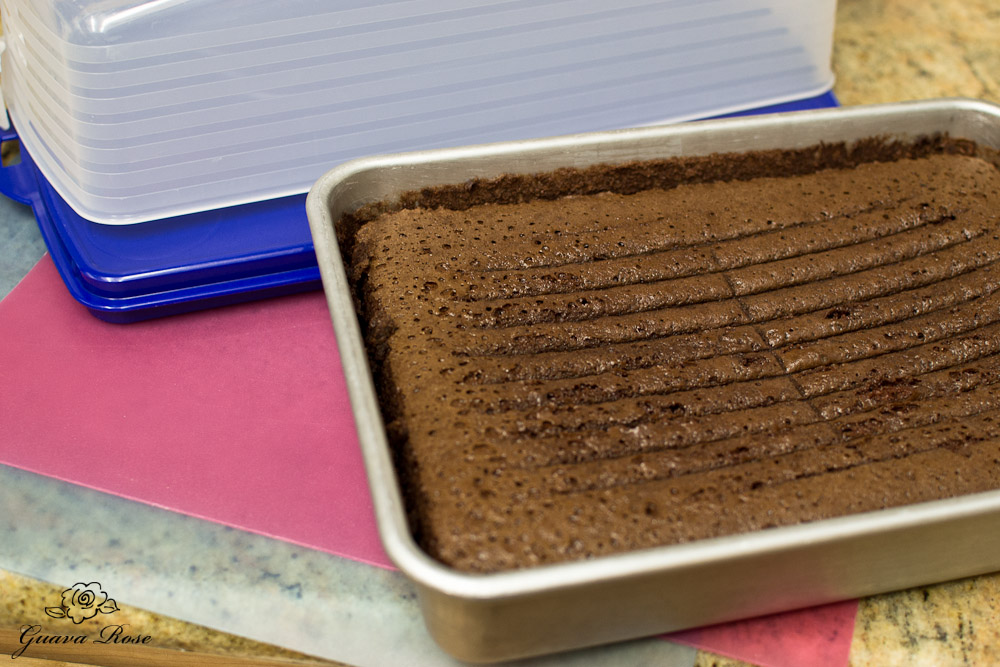
Have your cake platter, two flexible cutting mats, a butter knife and a serrated bread knife out and ready.
Here I’m using a Tupperware Cake Taker (2 pc set: bottom cake platter + top cover with handle); I’ve found it to work the best over the years.
Unless you already own one, I wouldn’t recommend buying an acrylic cake carrier. They are pretty, because the plastic is clear, but are not as sturdy. I had an acrylic one for less than a month when I dropped it (luckily without a cake in it) and the lid cracked apart.
I’ve dropped my Tupperware carrier more than a few times in the past dozen years or so, and it’s still going strong. In terms of size, design, durability, and functionality, Tupperware gets my vote. (I am not affiliated with Tupperware in any way, I just like their cake taker.)
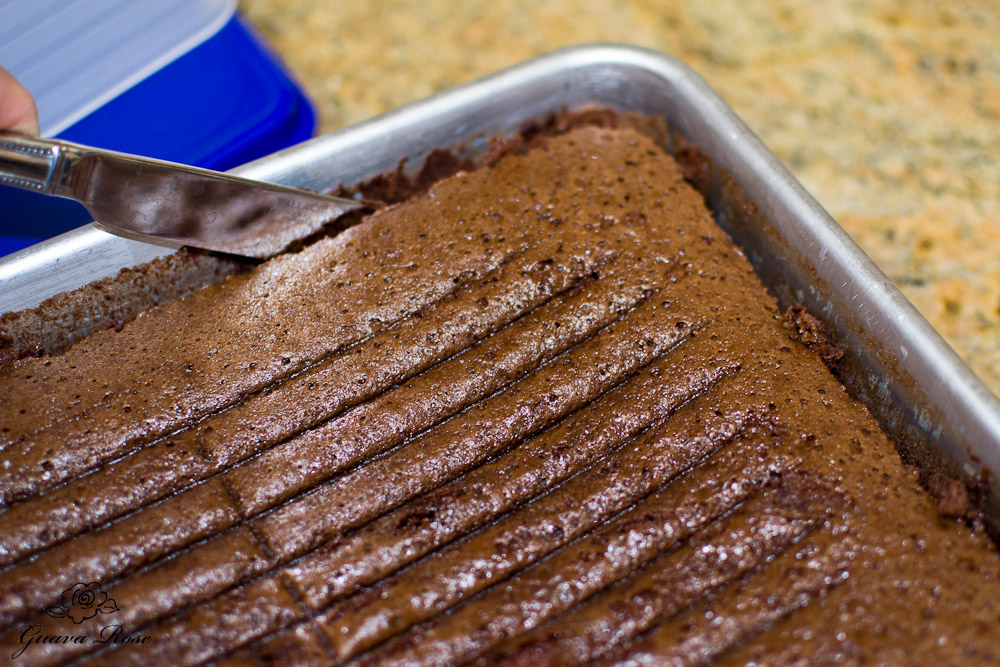
Run a butter knife around the cake to loosen the cake edges from the pan.
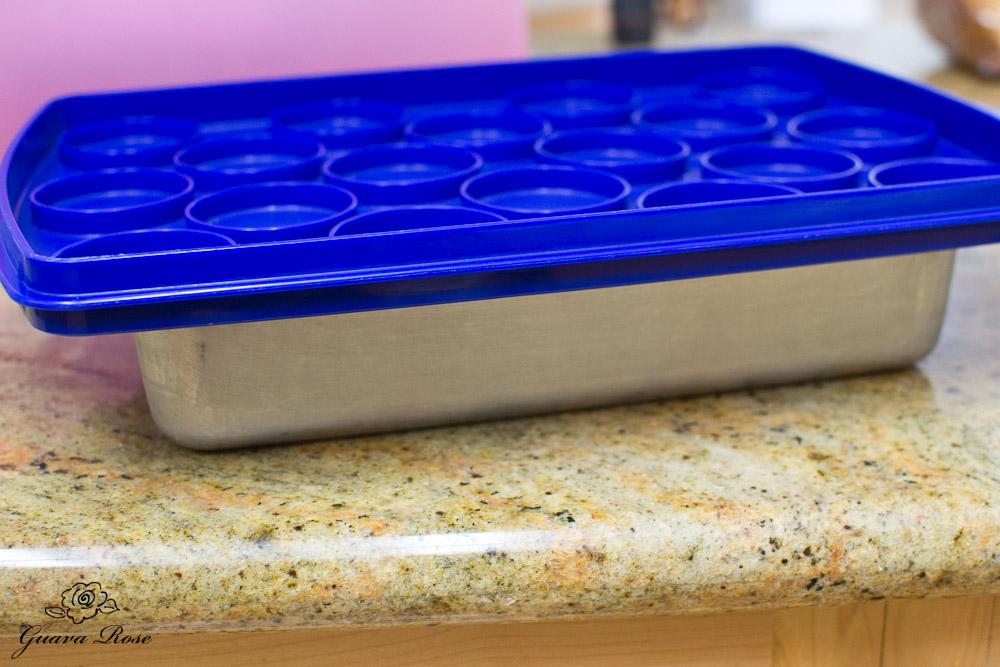
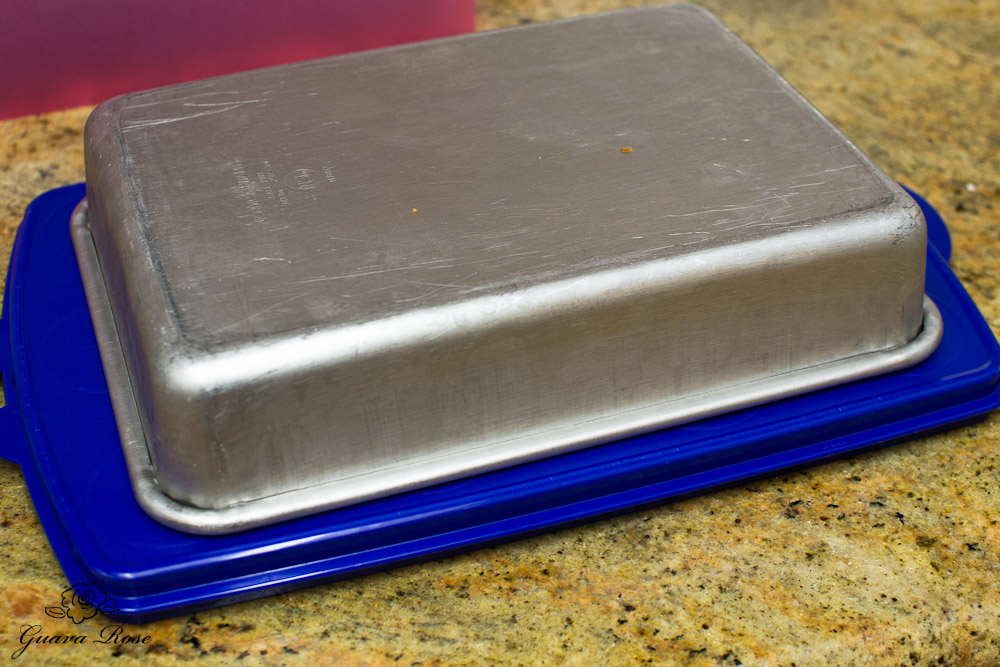
Place your cake platter (the bottom of the cake carrier) upside down over the top of the cake pan.
Flip it over so the cake is on top of the cake platter.
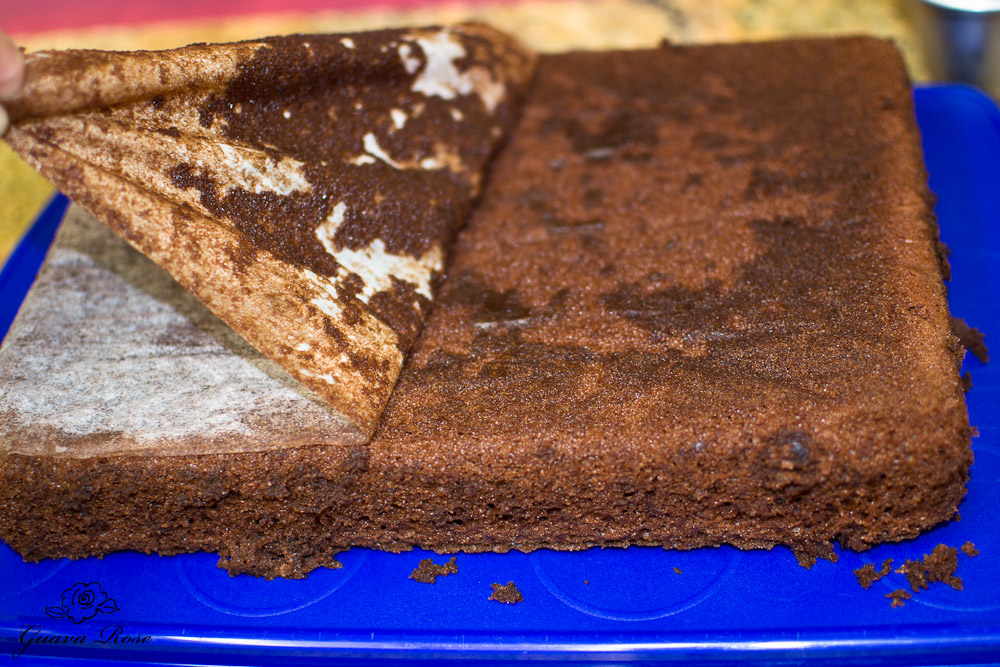
Remove the baking pan and peel off the parchment paper from the cake.
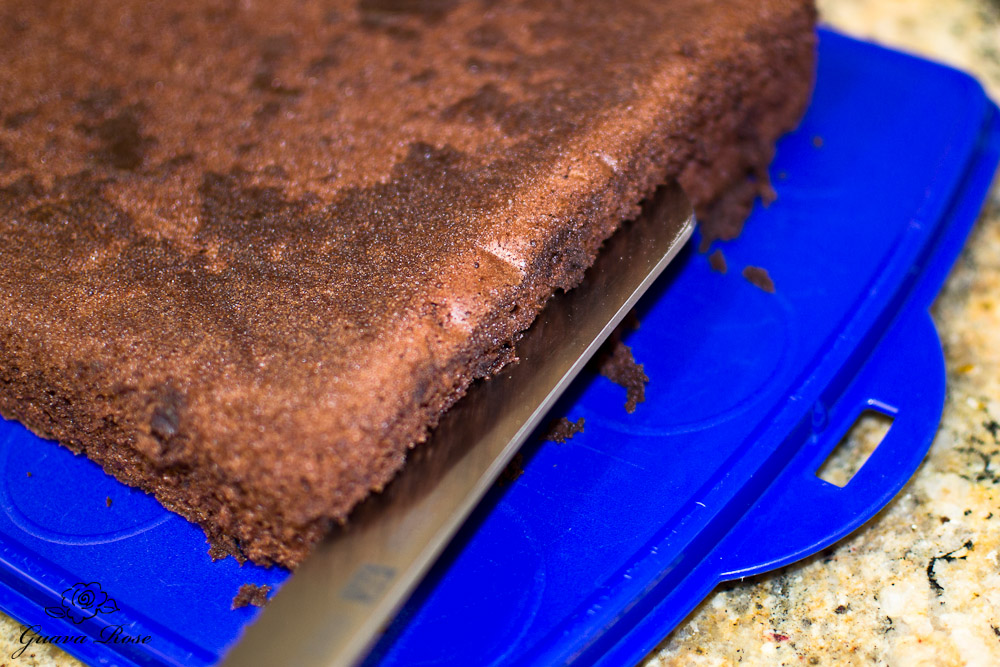
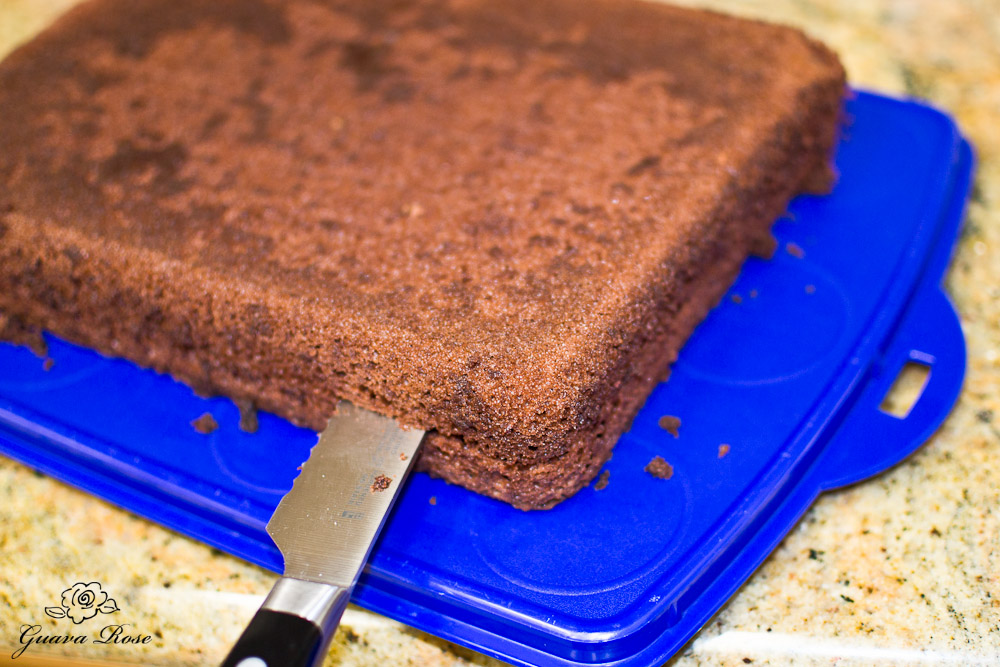
Use a large (bread size) serrated knife to split the cake into two layers.
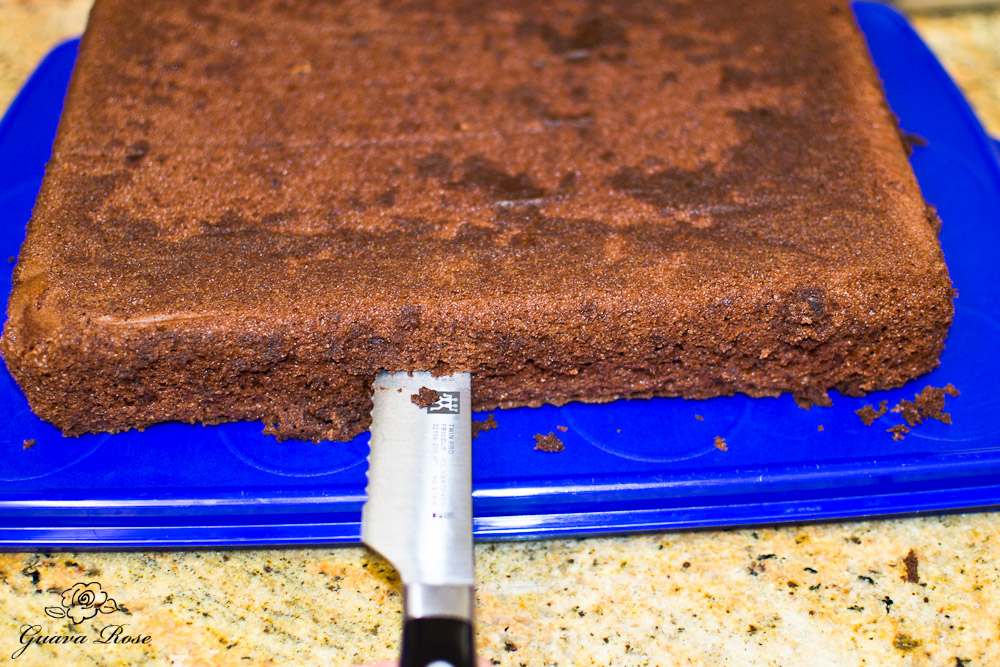
Start by placing the knife a little more than halfway up the width of the cake, at one short end. Eyeball the placement of the knife so you’ll be splitting the cake into two equal layers.
Start slicing through the cake towards the other end.
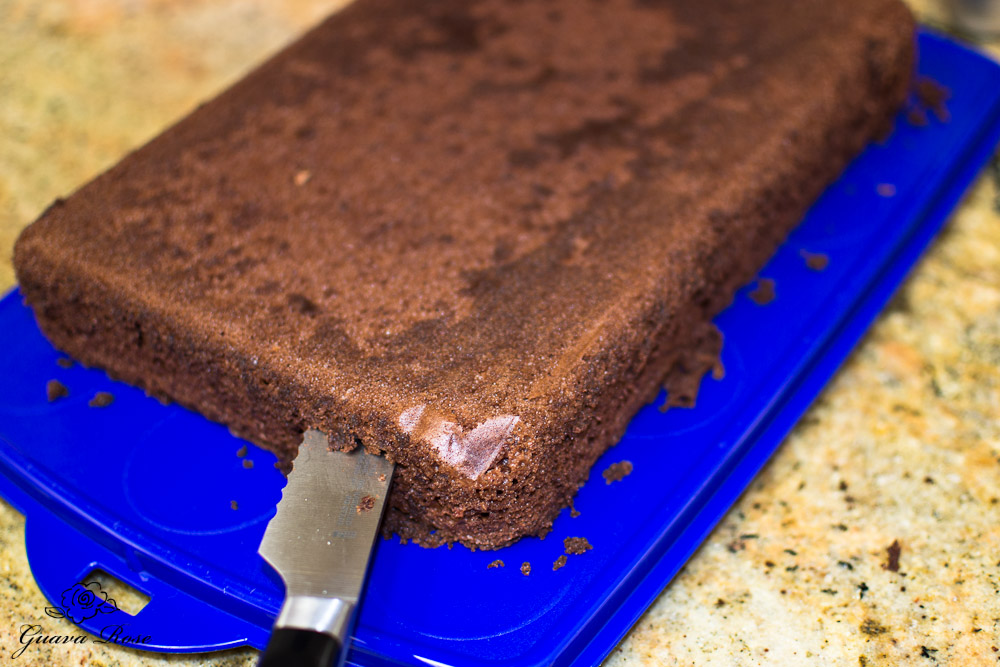
Continue slicing, turning the platter as you reach the corners of the platter.
I’m right handed, so I use the knife to cut with my right hand, cutting towards the left, while using my left hand to turn the platter towards the right as needed.
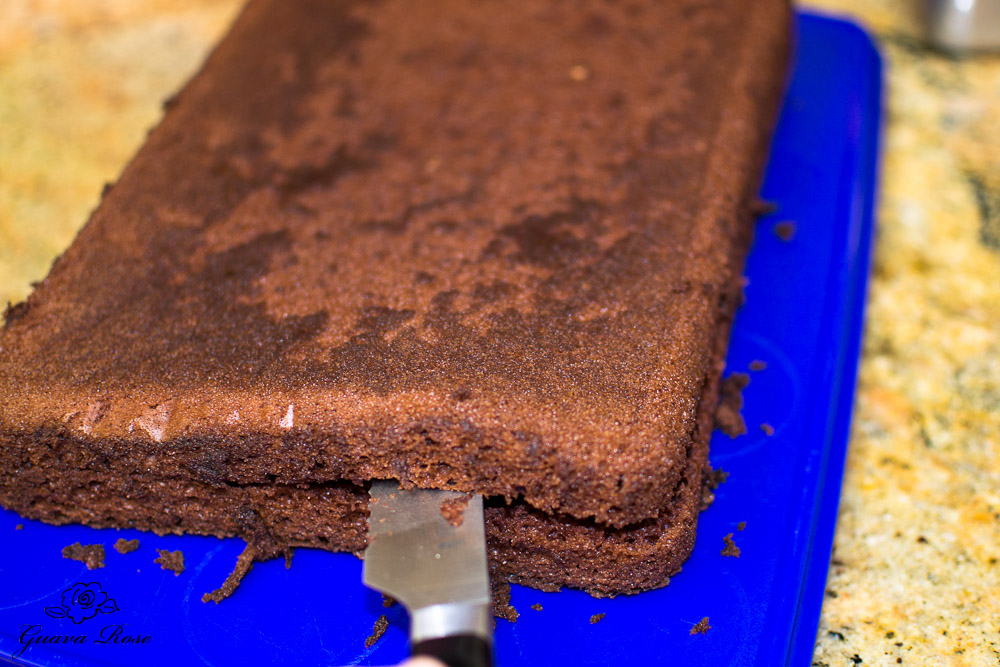
Keep cutting and rotating the cake platter all the way around.
You will feel a slight give when the knife reaches where you first started.
Lift the top layer up with the knife slightly to check and make sure the cake has been completely split into two layers.
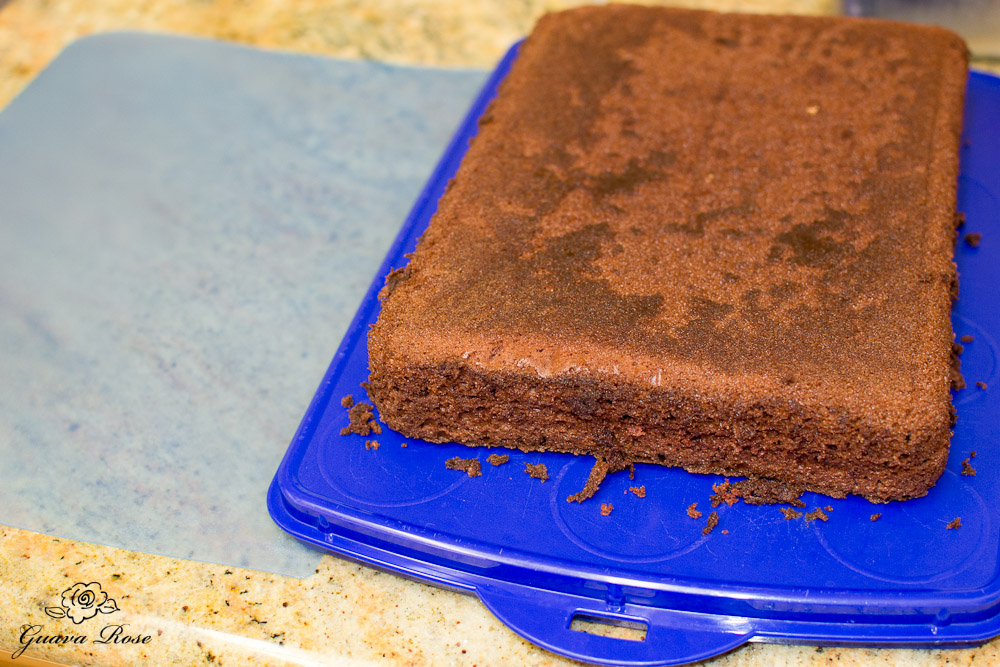
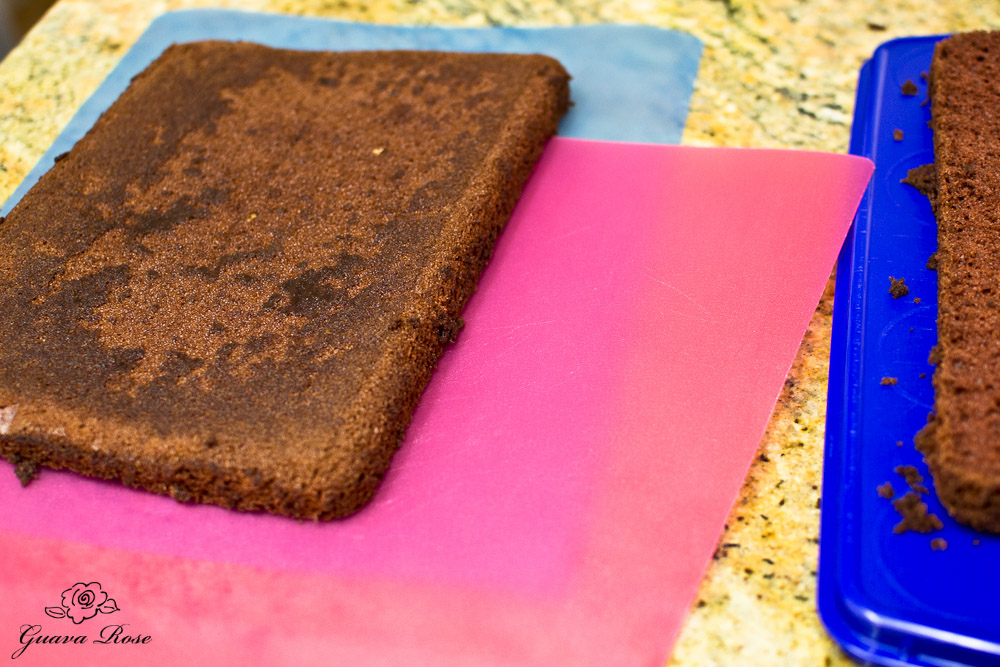
Place the first flexible mat (blue) next to the cake platter.
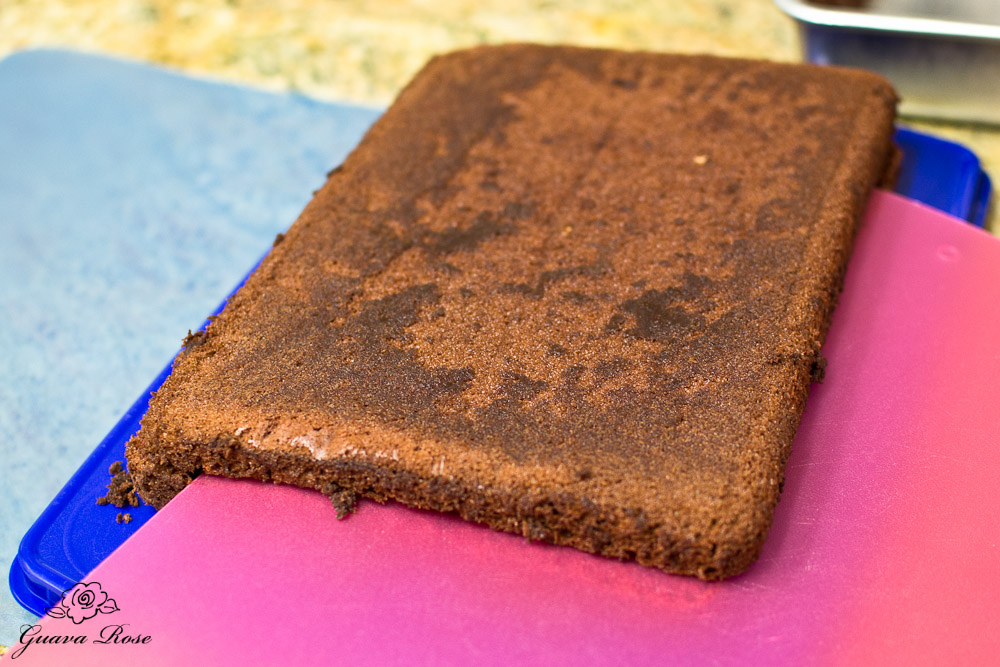
Slide the second flexible cutting mat (red) in between the two cake layers and use it to lift up the top layer.
Use your other hand to help lift up the top layer on the other side, if the mat isn’t able to easily slide completely through to the other side.
Place the top layer and the second (red) mat on top of the first (blue) mat.
Adjust the cake layer so that it rests completely on top of the second (red) mat.
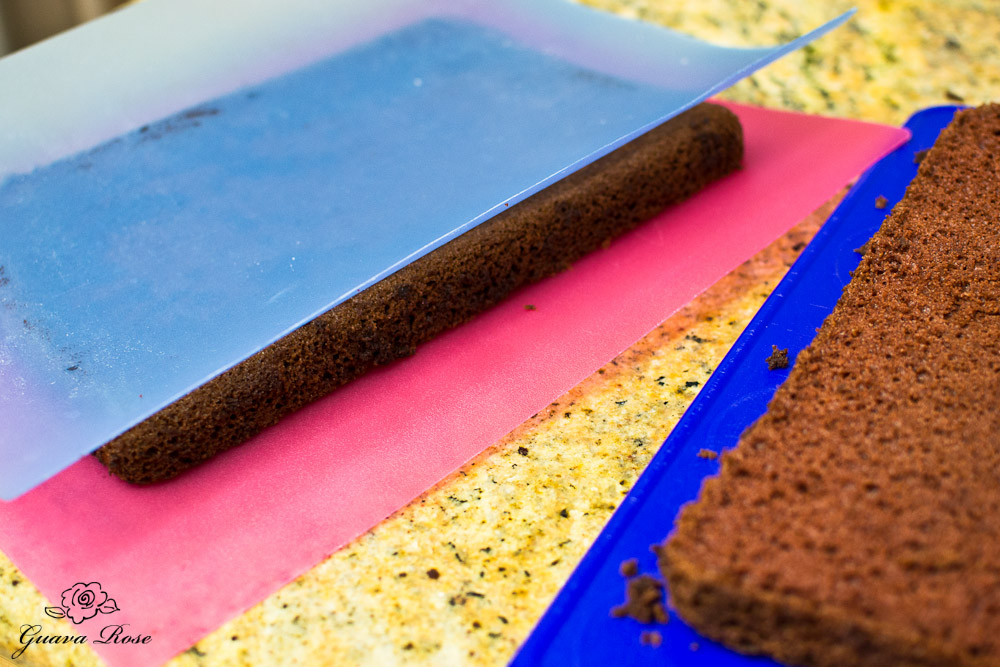
Now pull the first (blue) mat out from the bottom, and cover the removed cake layer with it.
Slip one hand under the red mat, supporting the cake layer, and place your other hand on top of the blue mat.
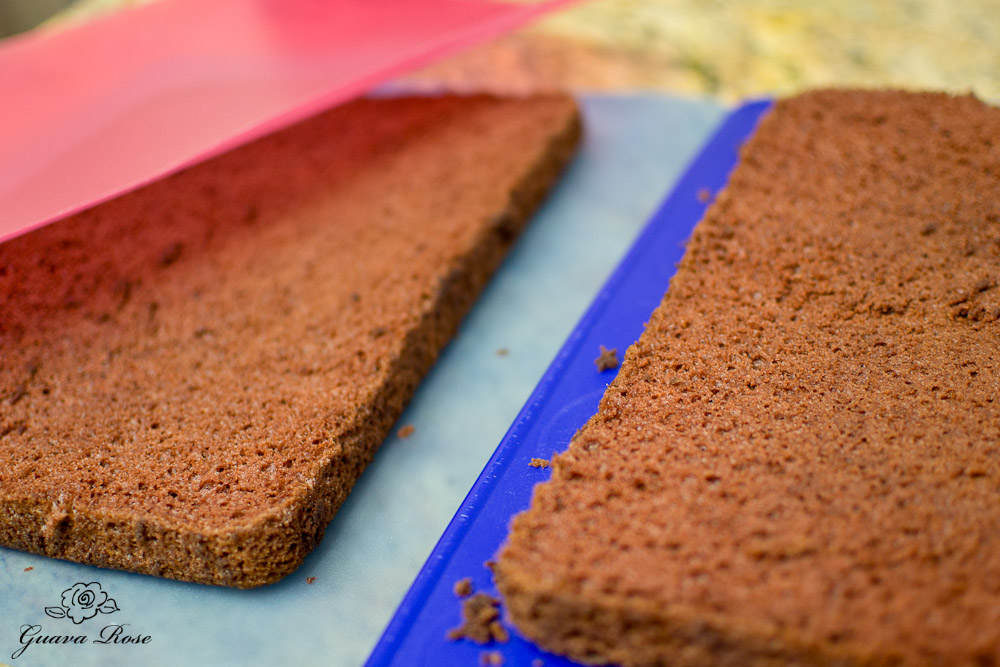
Flip it over and remove the top red mat.
This is all done so you end up with the two cake layers both cut side up.
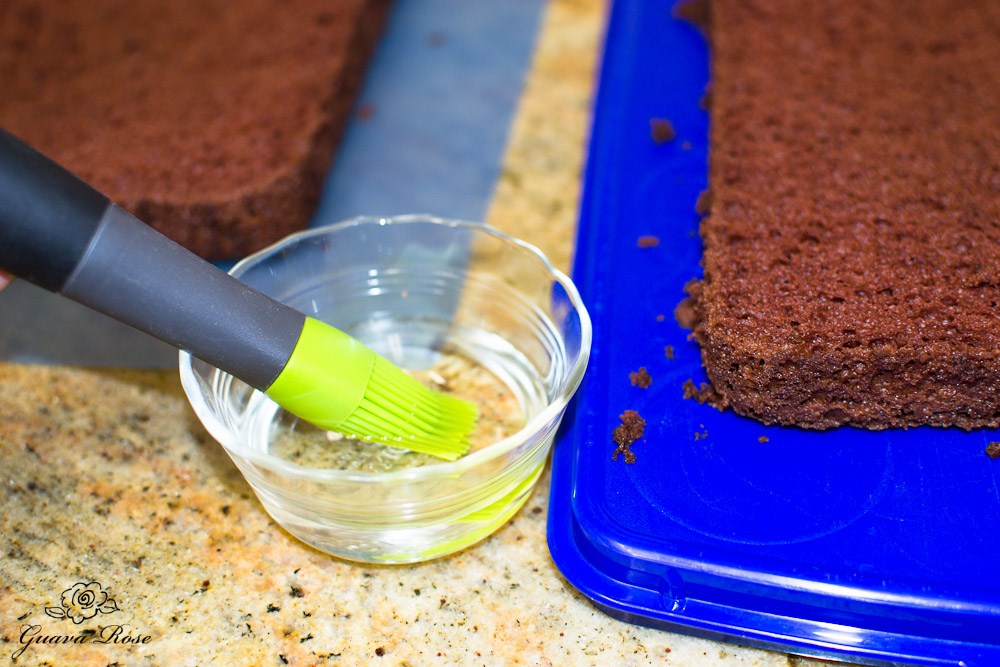
Make a small amount of simple syrup by boiling sugar and water together.
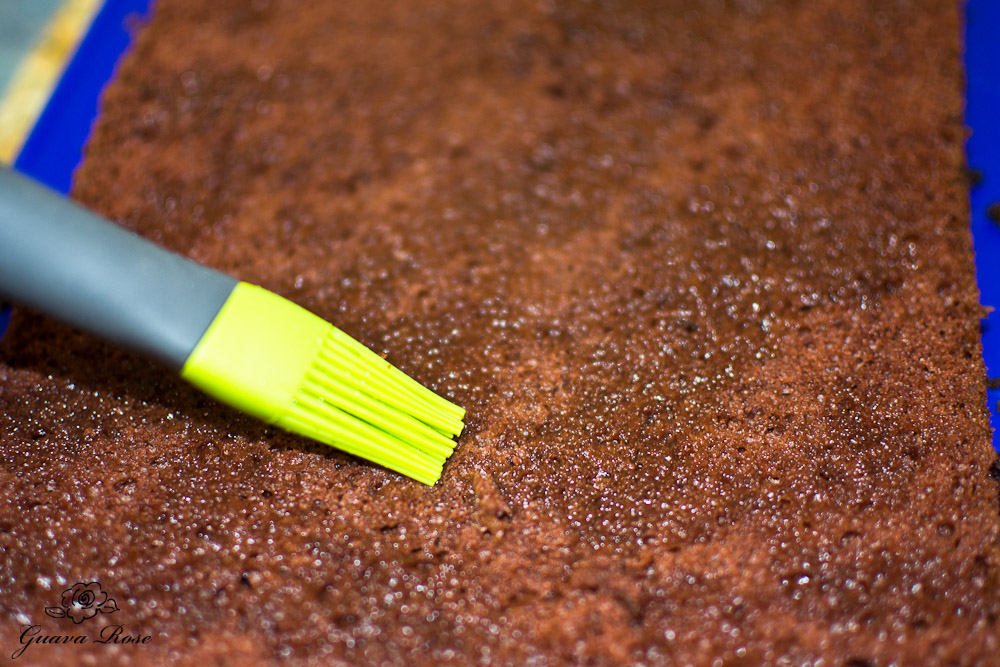
Brush the cut side of each cake layer with simple syrup.
This will help make the cake moist.
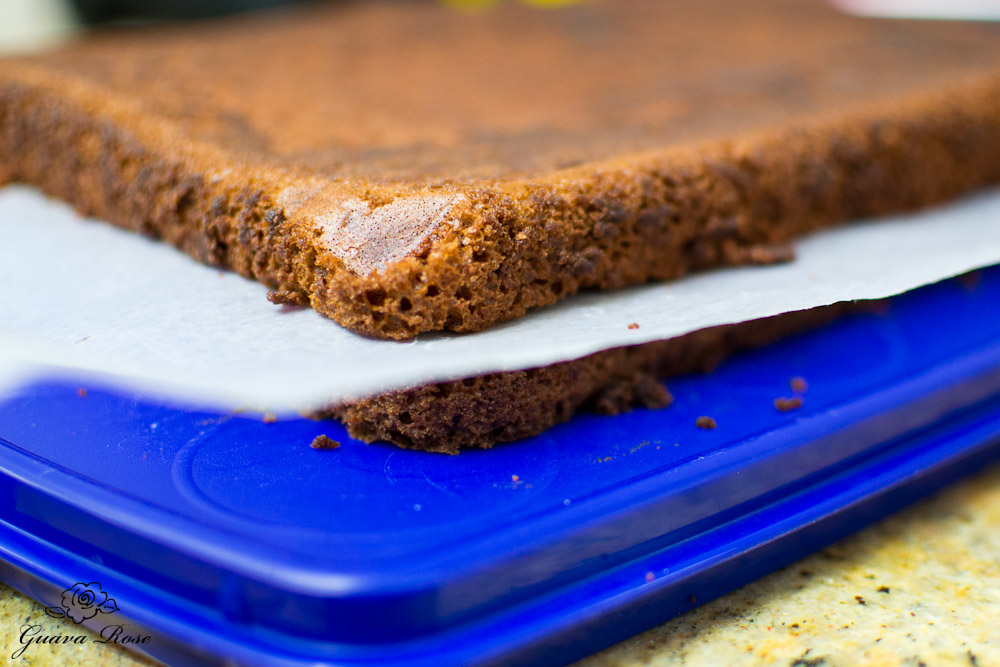
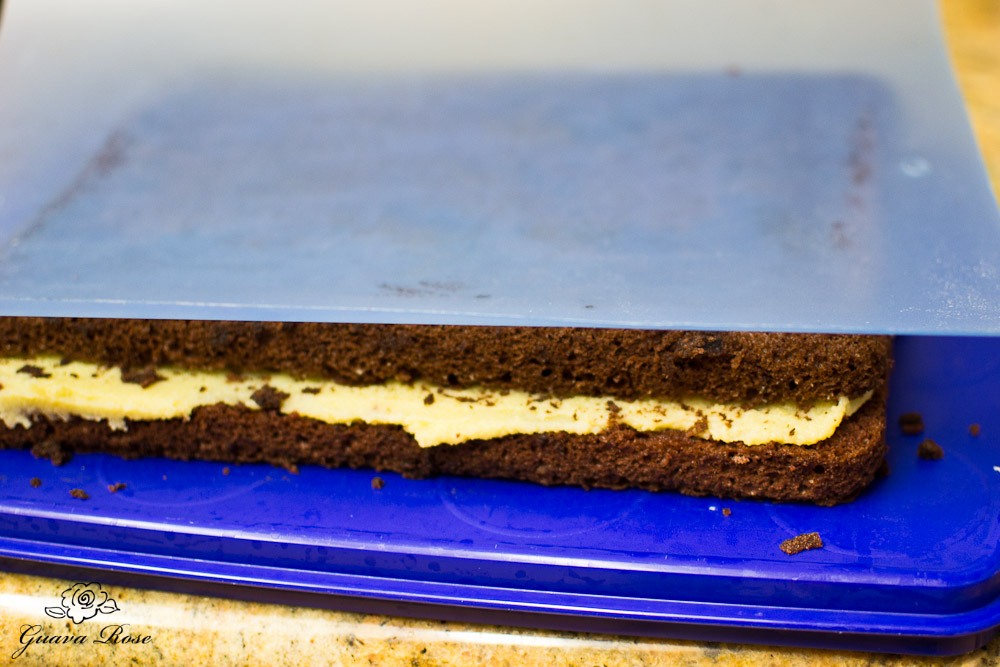
If you need to stop at this point and finish up later, just stack the layers with waxed or parchment paper in between them. Cover tightly with the lid, and refrigerate until you’re ready to frost.
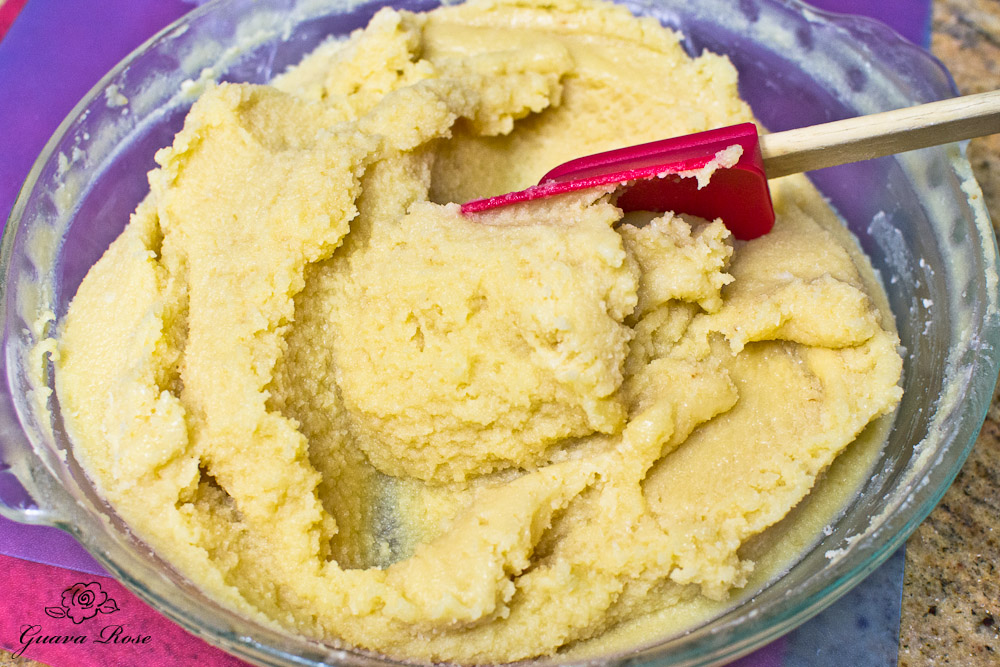
Stir the frosting, mixing well.
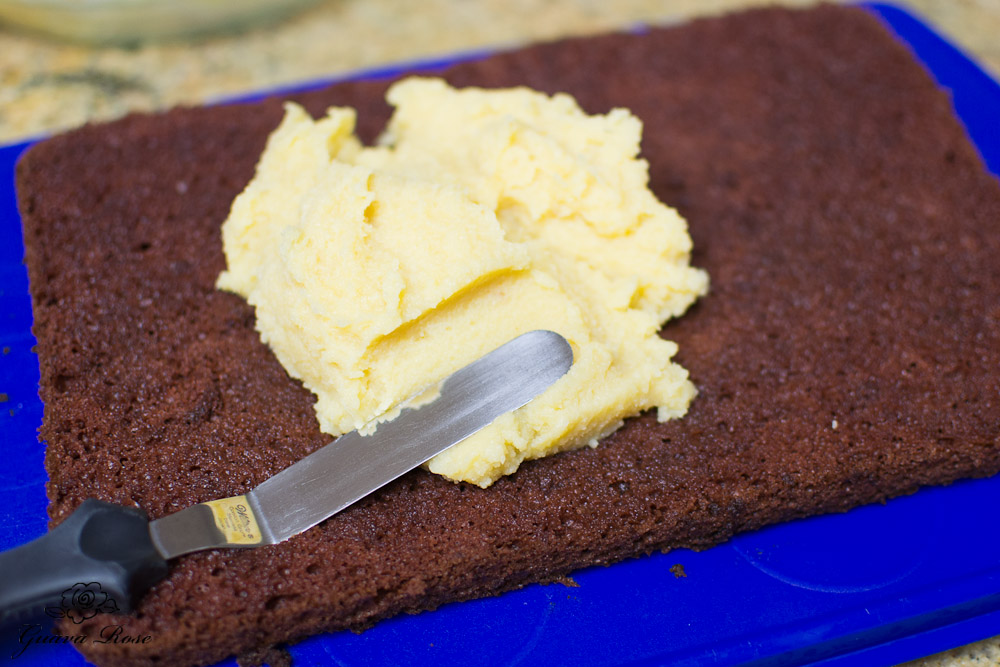
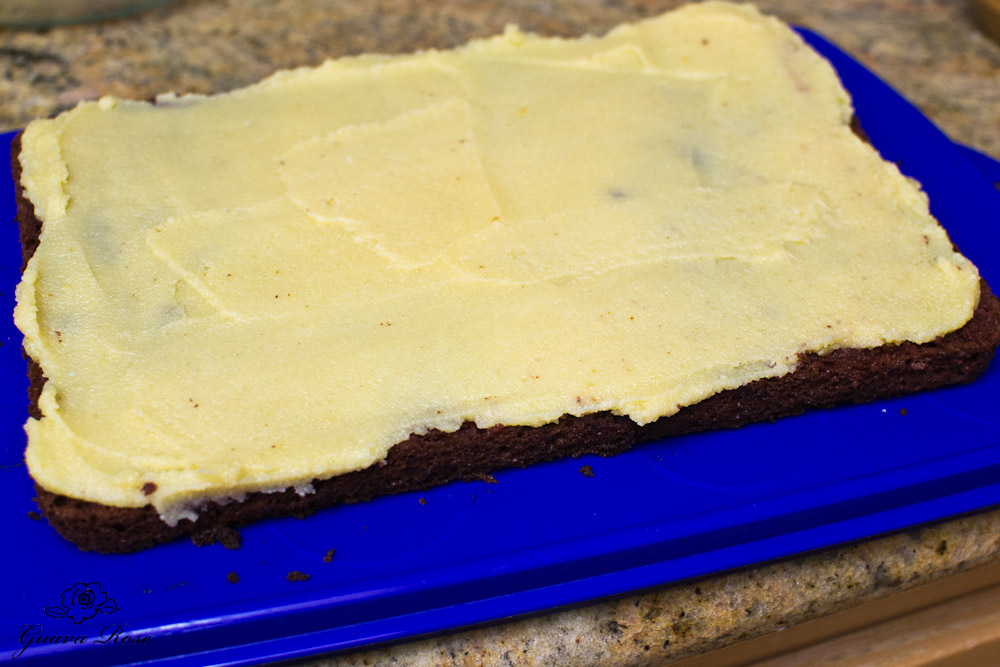
Start by placing about one third of the frosting on the bottom layer.
Use a small (8-9″) angled spatula (pictured above) to spread the frosting. This makes frosting a cake much easier than using a butter knife. It’s well worth the cost (~$6) and easily found online or in the cake decorating section of craft stores.
Spread the frosting evenly out to the edges.
Place the second cake layer, cut side down onto the frosted bottom layer.
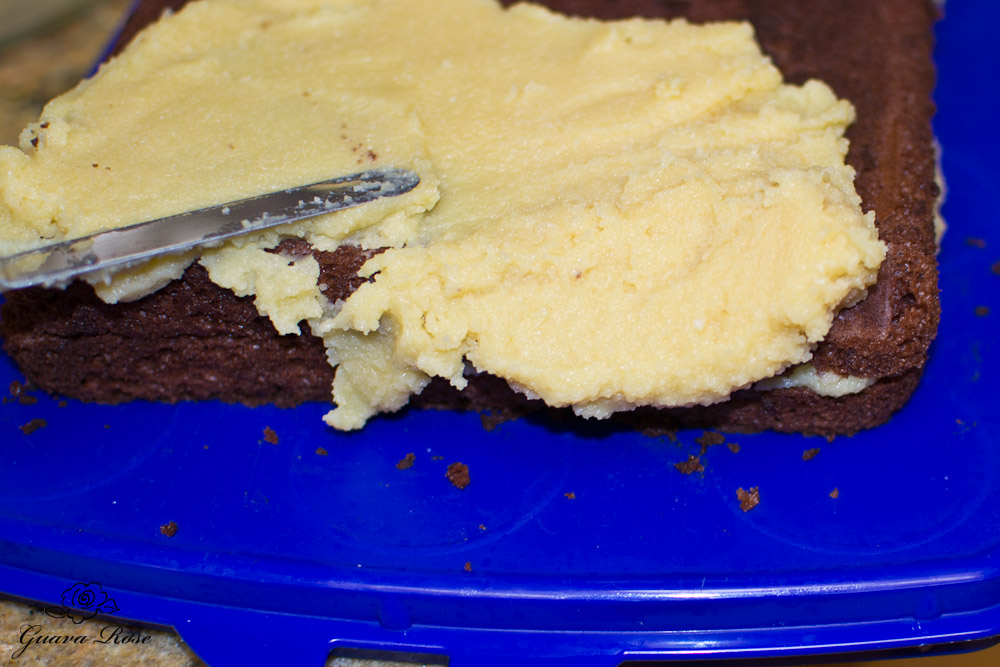
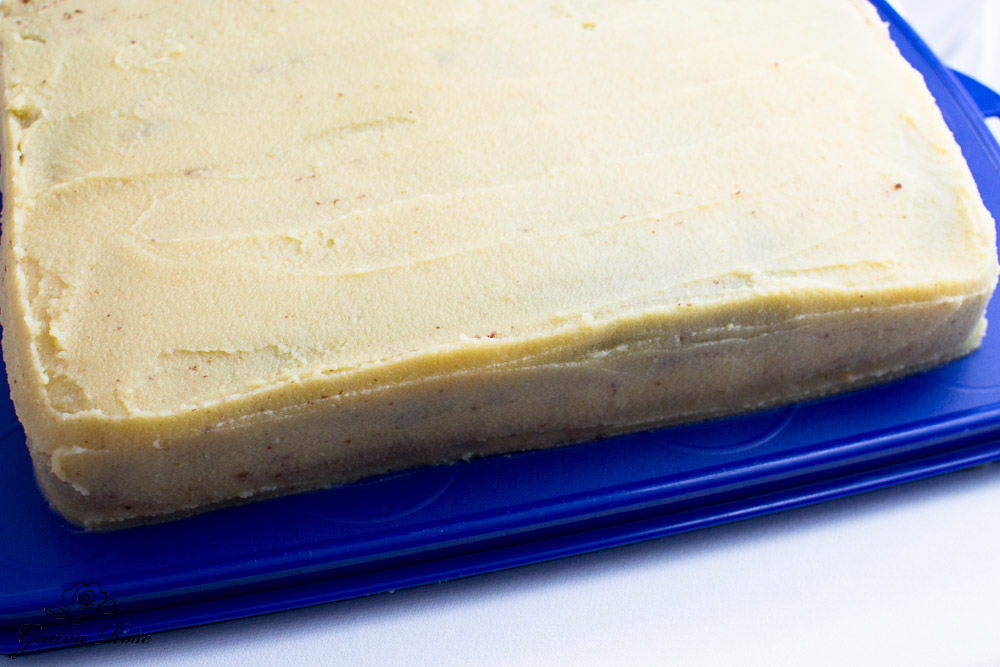
Use the remaining frosting to frost the top and sides.
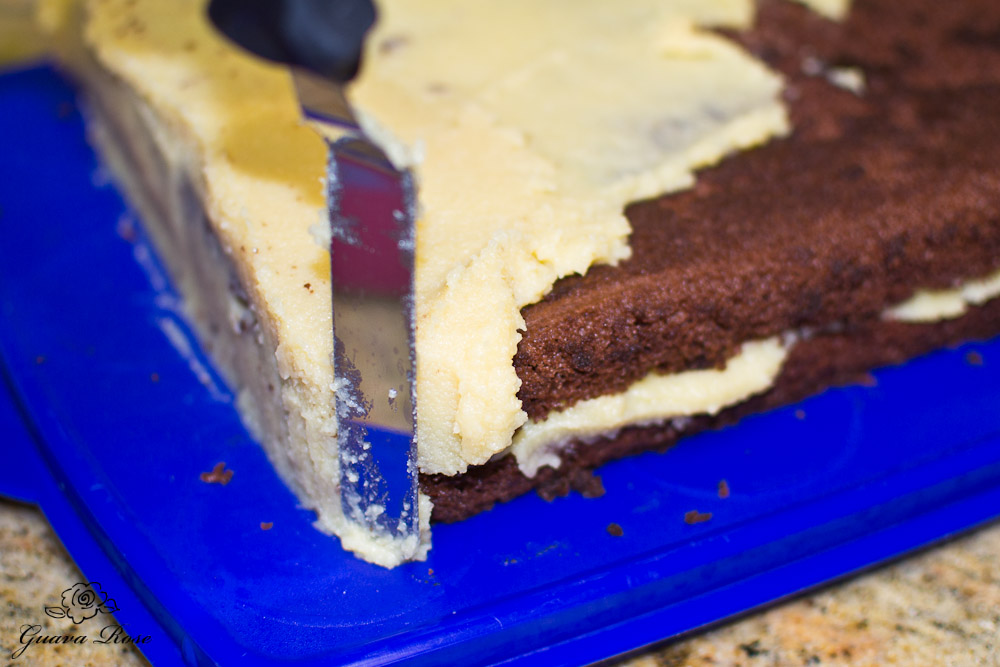
I usually frost the top a bit, then push some frosting over the edges and quickly frost the sides. Do this a small area at a time.
The angled spatula is great for working the frosting around the edges and neatening up the sides.
Frost the top last. Make sure all surfaces are as smooth as possible.
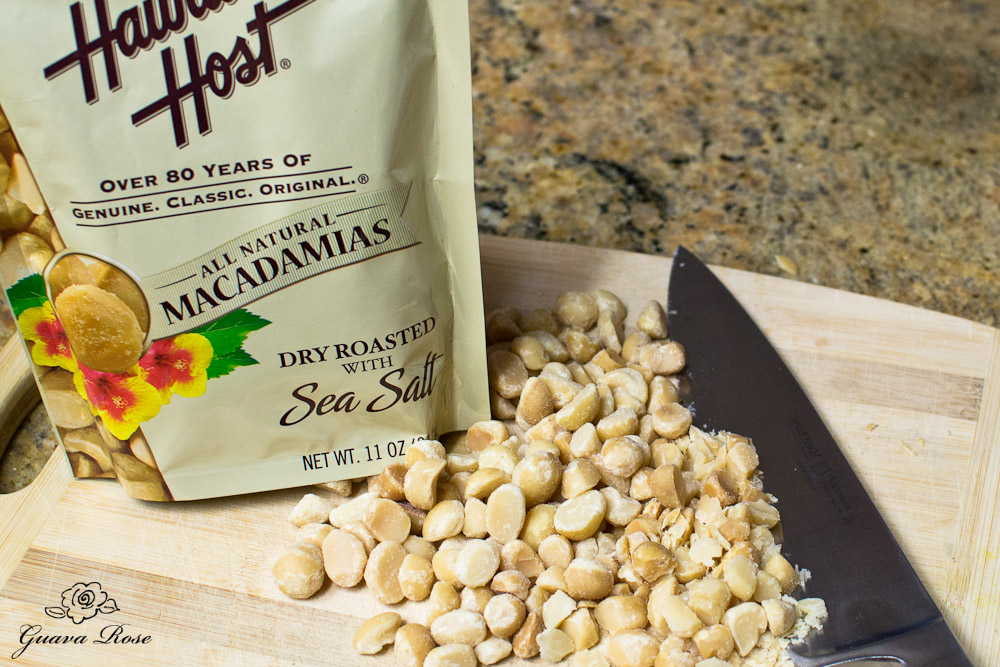
You can use unsalted macadamia nuts, but salted nuts taste really good with this sweet, rich, chantilly frosting.
Finely chop about one cup of nuts. Some bigger chunks are okay.
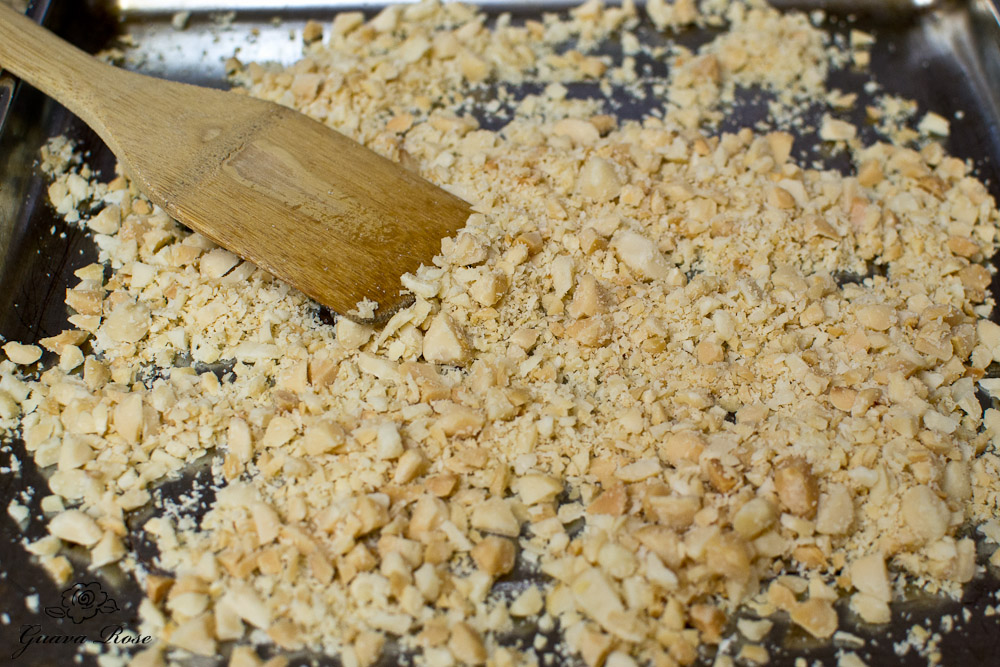
Toasting the nuts is optional, but makes the cake extra delicious.
I bake them in my toaster oven at 350 degrees for 3-4 minutes. Watch closely! They burn quickly, so I just stand there watching them until they are ready.
Pull the nuts out of the overn slightly before you think they are ready, as they will continue to brown after you remove them from the heat. Stir nuts immediately, and a few times as they are cooling.
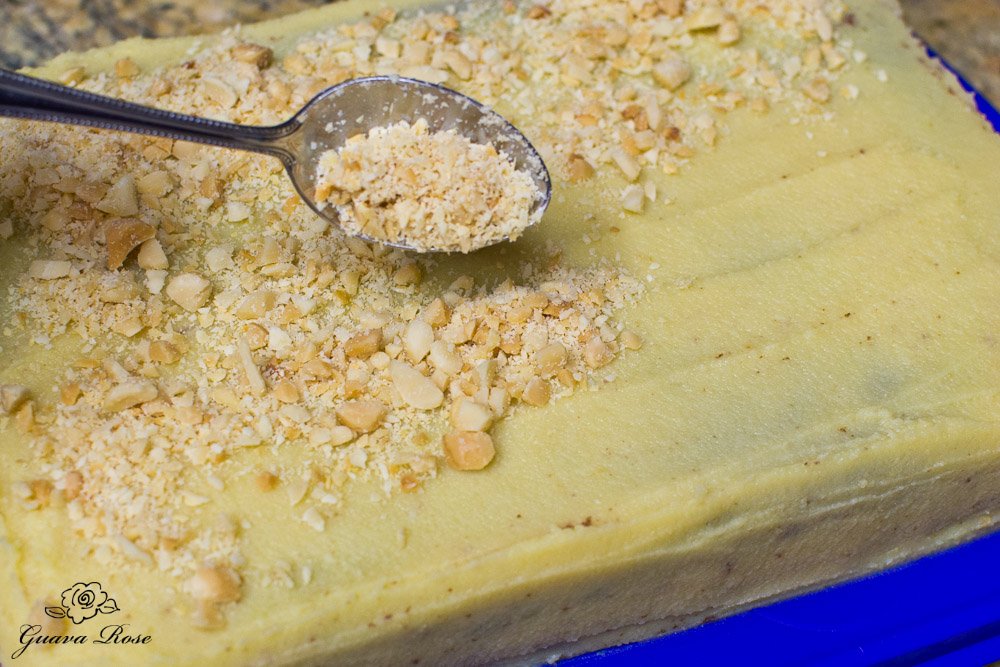
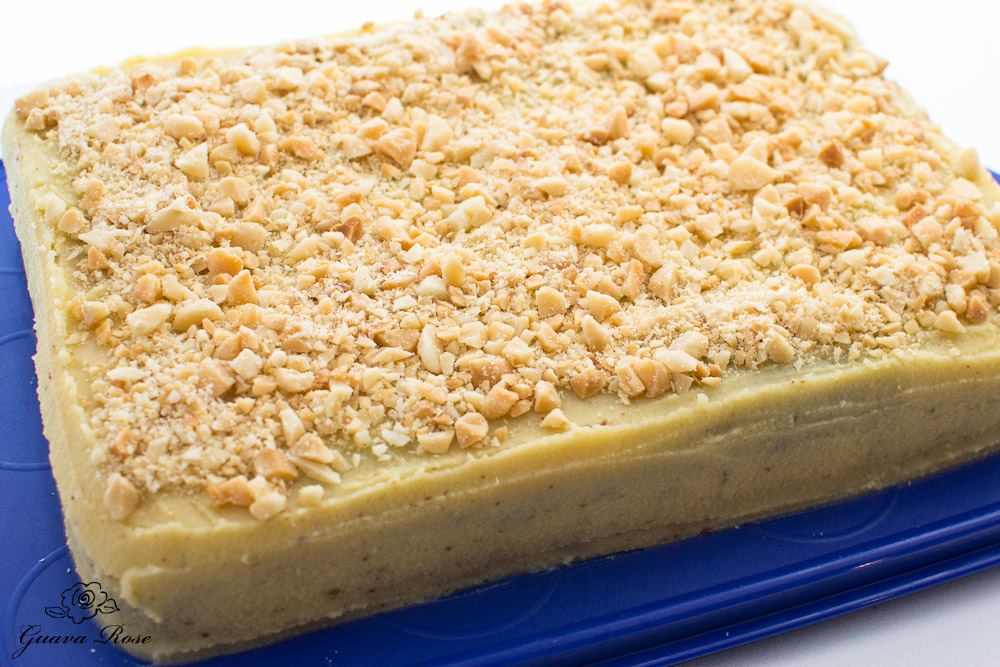
Sprinkle completely cooled mac nuts over the top of the cake.
Chantilly Cake!!!
Cover tightly with the lid.
Refrigerate at least 24 hours before serving –48 hours is better. Keep the cake and any leftovers refrigerated.


