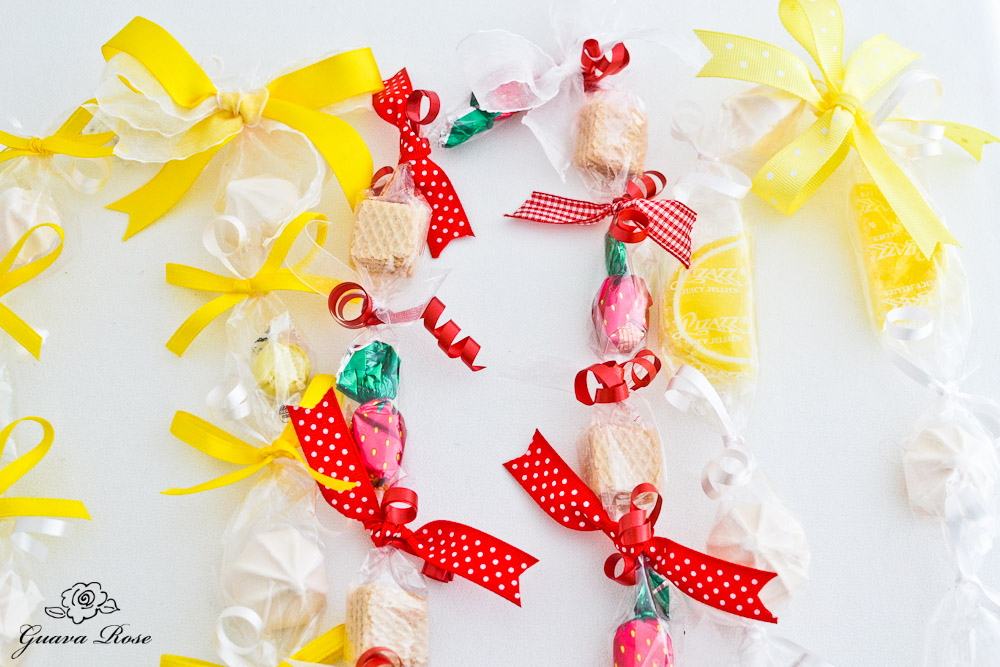
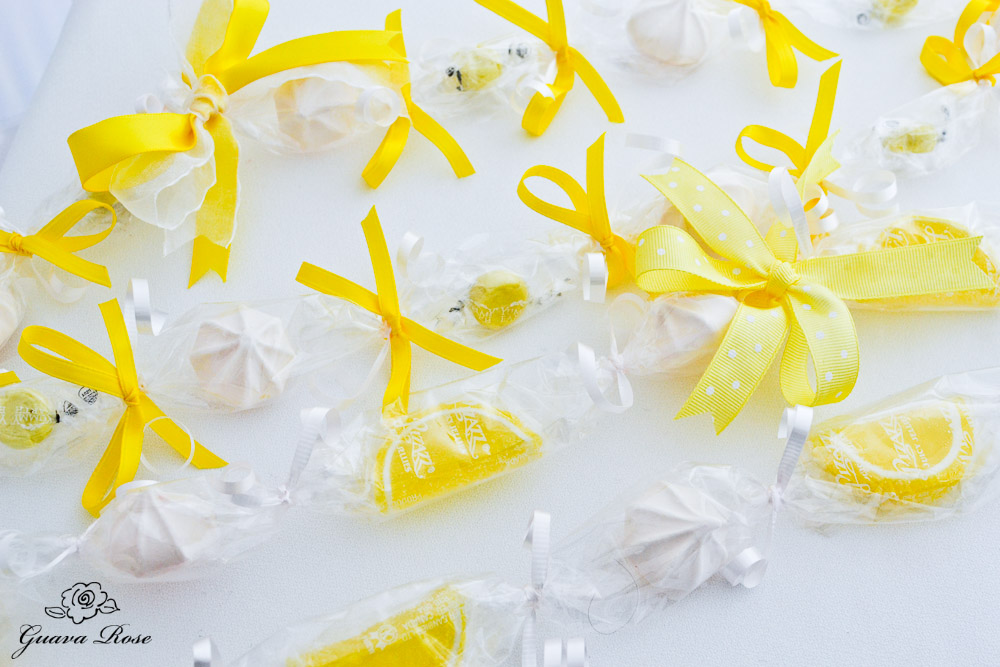
Here are a couple of lei that are more heat stable than the Kukui Nut Candy Lei that I showed you last week.
They’d hold up much better than the chocolate truffles at a graduation ceremony, or outdoors.
These are just a couple of playful ideas– when it comes to candy lei, any combination of candies, ribbons, and colors goes.
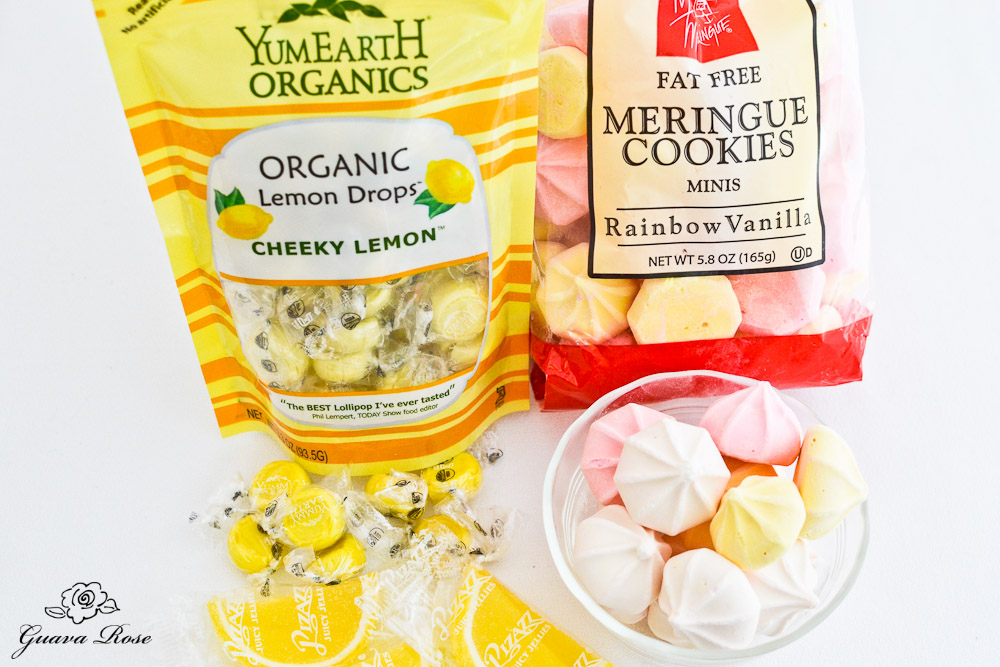
Lemon Candy + Meringue Cookies = Lemon Meringue Lei
Although the chewy lemon slices are pretty, these organic lemon drops taste so good. Even better, they have no artificial colors or flavors–especially good for those with allergies.
You may think I’m a bit inconsistent in my use of products with artificial colors and flavors, but like everything in life, I have to pick and choose where I’m okay with it. In something like a candy lei, which is usually for a special event and does not occur often, I think it’s okay if you can’t find other options.
Given the choice of similar products with or without the additives, of course I’d choose the one without additives, but in some cases like my Guava Cream Custard Rolls, Guava Rose Mochi Tarts, and Ice Cream Slushies, I have to use a frozen guava juice concentrate that has food coloring in it because there is no other guava juice concentrate available.
The meringues should be the mini size (approx 1″ wide) so the lei does not become too bulky. They are simple, but a little time consuming to make like here, or you can purchase them online at Spaan’s Cookie Co. or Miss Meringue. I’m lazy and can usually find them in the gourmet food section of Marshall’s or Home Goods.
All candy lei start off the same by laying out a long strip of cellophane wrap horizontally across your work table.
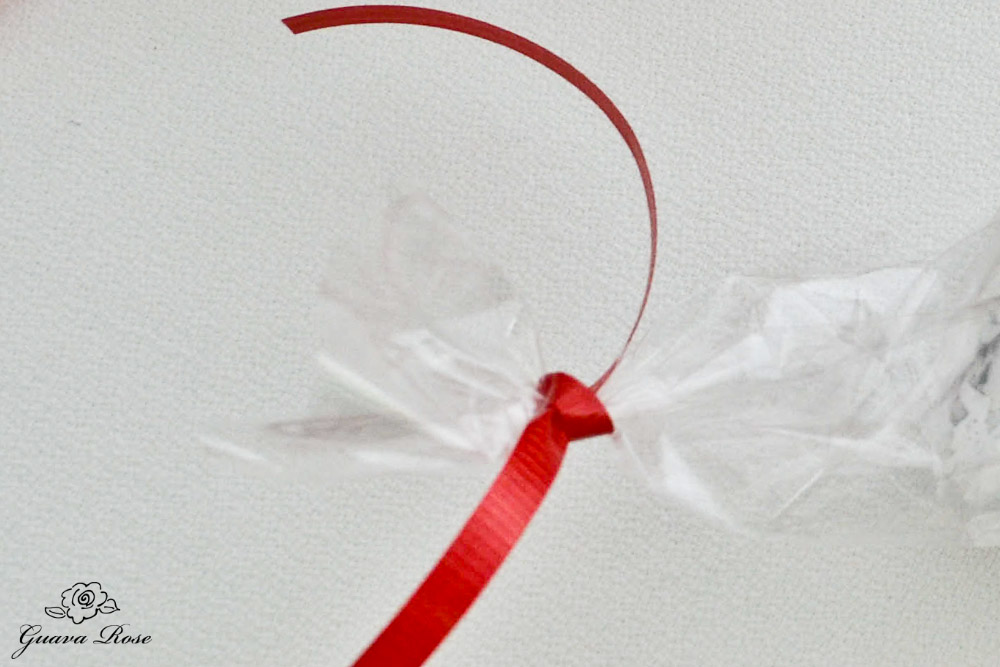
On the left side, fold down the top third of the cellophane wrap down, then fold up the bottom third of the cellophane wrap to cover it. Pinch the layers together about 1-1/2″ from the left end and tie it with a piece of curling ribbon, securing it with a knot.
Place one candy or mini meringue, top side down, into the opening. Be sure to cover with the top cellophane first, then the bottom cellophane as before. Pinch and tie with a piece of curling ribbon. Just tie once — after all the candies have been placed, we’ll turn it over to the front side and tie it another time. Continue this process, alternating the candies and the meringue cookies, and tying the last ribbon with a knot. Trim off the excess cellophane wrap, leaving about 1-1/2″ at the end.
**If the cellophane wrap tears at any time, be sure to use clear adhesive tape to repair it, or your lei may rip later. Even if it means you need to untie a ribbon, it’s important to repair any tears. The tear and the repair won’t be visible if you use clear tape.
Turn the lei over to the front side. Gently twist any candies that need repositioning so that the nice side is facing up.
Re-tie all the ribbons snugly on this side now. A full knot isn’t necessary unless the ribbon seems very loose.
Curl all the pieces of ribbon, except for the ones at each end.
Bring the two ends of the lei up, one end overlapping the other at the ribbon knots . Tie together twice– once with the ribbons from each end. Curl the ribbons. Once more, check and readjust any pieces if needed. For a fancier lei, tie additional ribbons or satin bows at each joint.
Finish off the lei by tying a bow at the main joining with an 18″ piece of (3/8″ to 1/2 ” wide) grosgrain, satin or sheer ribbon.
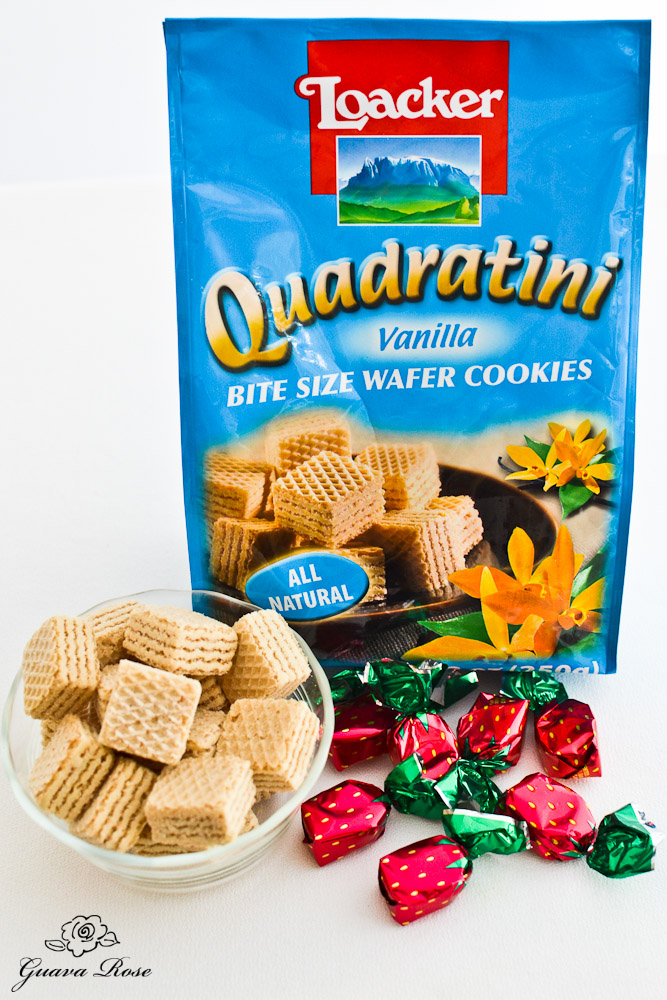
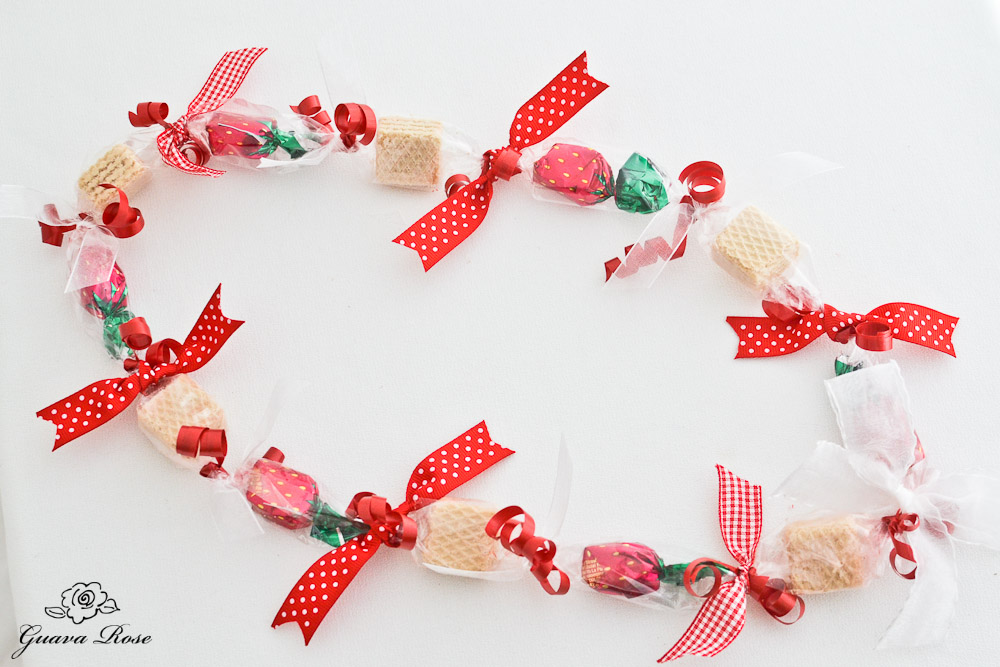
Strawberry Candies + Layered Wafer Cookie Bites = Strawberry Shortcake Lei
Follow directions for the Lemon Meringue Lei, alternating strawberry candies with the wafer cookies.
Instead of embellishing with satin bows, I just tied some extra printed and sheer ribbons at the joints.
Hmm…I wonder why I feel like eating a piece of lemon pie or strawberry shortcake now…
- 14 pieces of candy
- 15 pieces of curling ribbon (8″-9″ long)
- Long strip of clear cellophane wrap (42″ long x 4″ wide)
- 18″ piece of grosgrain or satin ribbon (3/8"-1/2" wide)
- Clear adhesive tape
- 16-18 pieces of candy
- 17-19 pieces of curling ribbon (8″-9″ long)
- Long strip of clear cellophane wrap (48" long x 4″ wide)
- 18″ piece of grosgrain or satin ribbon (3/8"-1/2" wide)
- Clear adhesive tape
- Additional (8"-9") curling ribbons, 6" pieces of coordinating ribbons to tie on, and/or 12″ pieces of (3/16″) satin ribbons for bows, if desired
- Lay out the long strip of cellophane wrap horizontally across your work table.
- On the left side, fold down the top third of the cellophane wrap down, then fold up the bottom third of the cellophane wrap to cover it. Pinch the layers together about 1-1/2" from the left end and tie it with a piece of curling ribbon, securing it with a knot.
- Place one candy, top side down, into the opening. Be sure to cover with the top cellophane first, then the bottom cellophane as before. Pinch and tie with a piece of curling ribbon. Just tie once — after all the candies have been placed, we’ll turn it over to the front side and tie it another time. Continue this process, placing the candies and tying the ribbons, then ending with a knot. Trim off the excess cellophane wrap, leaving about 1-1/2″ at the end.
- **If the cellophane wrap tears at any time, be sure to use clear adhesive tape to repair it, or your lei may rip later. Even if it means you need to untie a ribbon, it’s important to repair any tears. The tear and the repair won’t be visible if you use clear tape.
- Turn the lei over to the front side. Gently twist any candies that need repositioning so that the nice side is facing up.
- Re-tie all the ribbons snugly on this side now. A full knot isn’t necessary unless the ribbon seems very loose.
- Curl all the pieces of ribbon, except for the ones at each end.
- Bring the two ends of the lei up, one end overlapping the other at the ribbon knots . Tie together twice– once with the ribbons from each end. Curl the ribbons. Once more, check and readjust any pieces if needed. For a fancier lei, tie additional ribbon curls or satin bows at each joint.
- Finish off the lei by tying a bow at the main joining with an 18″ piece of (3/8″ to ½ ” wide) grosgrain, satin or sheer ribbon.


